In this article, we will be performing a vulnerability scan using Nessus, the leading vulnerability scanner.
Before we start, let’s define a few important terms.
What is a Vulnerability?
A vulnerability is a weakness in the security of a system that can be exploited by a malicious entity to gain unauthorized access to, alter, or disrupt the availability of information or information systems. It is a security hole that provides a potential angle to attack the system. It can come from many sources and may occur during design, implementation, configuration, or operation of an asset or control.
What is Vulnerability Management?
Vulnerability management is the ongoing process of identifying, classifying, prioritizing, reporting and remediating vulnerabilities across an organization’s infrastructure system. It is an essential component of information security and is often automated to keep computer systems, networks, and enterprise applications safe from cyberattacks and data breaches.
What is Vulnerability Scanning?
Vulnerability scanning is the process of scanning and identifying vulnerabilities, misconfigurations, or flaws in operating systems or software. It can be performed either manually or automatically by using an automated vulnerability scanning tool such as Nessus.
Getting Started
We will be using Metasploitable 2 as our target machine for the vulnerability scan. Metasploitable 2 is an intentionally vulnerable Linux virtual machine created by the Rapid7 Metasploit team. It is used to conduct security training, test security tools, demonstrate common vulnerabilities, and practice penetration testing techniques.
To start, download Metasploitable 2 by going to this link: Metasploitable download | SourceForge.net
It is also available at Download Metasploitable – Intentionally Vulnerable Machine | Rapid7
Note: When using the second link, you must fill out a form before you can download Metasploitable.
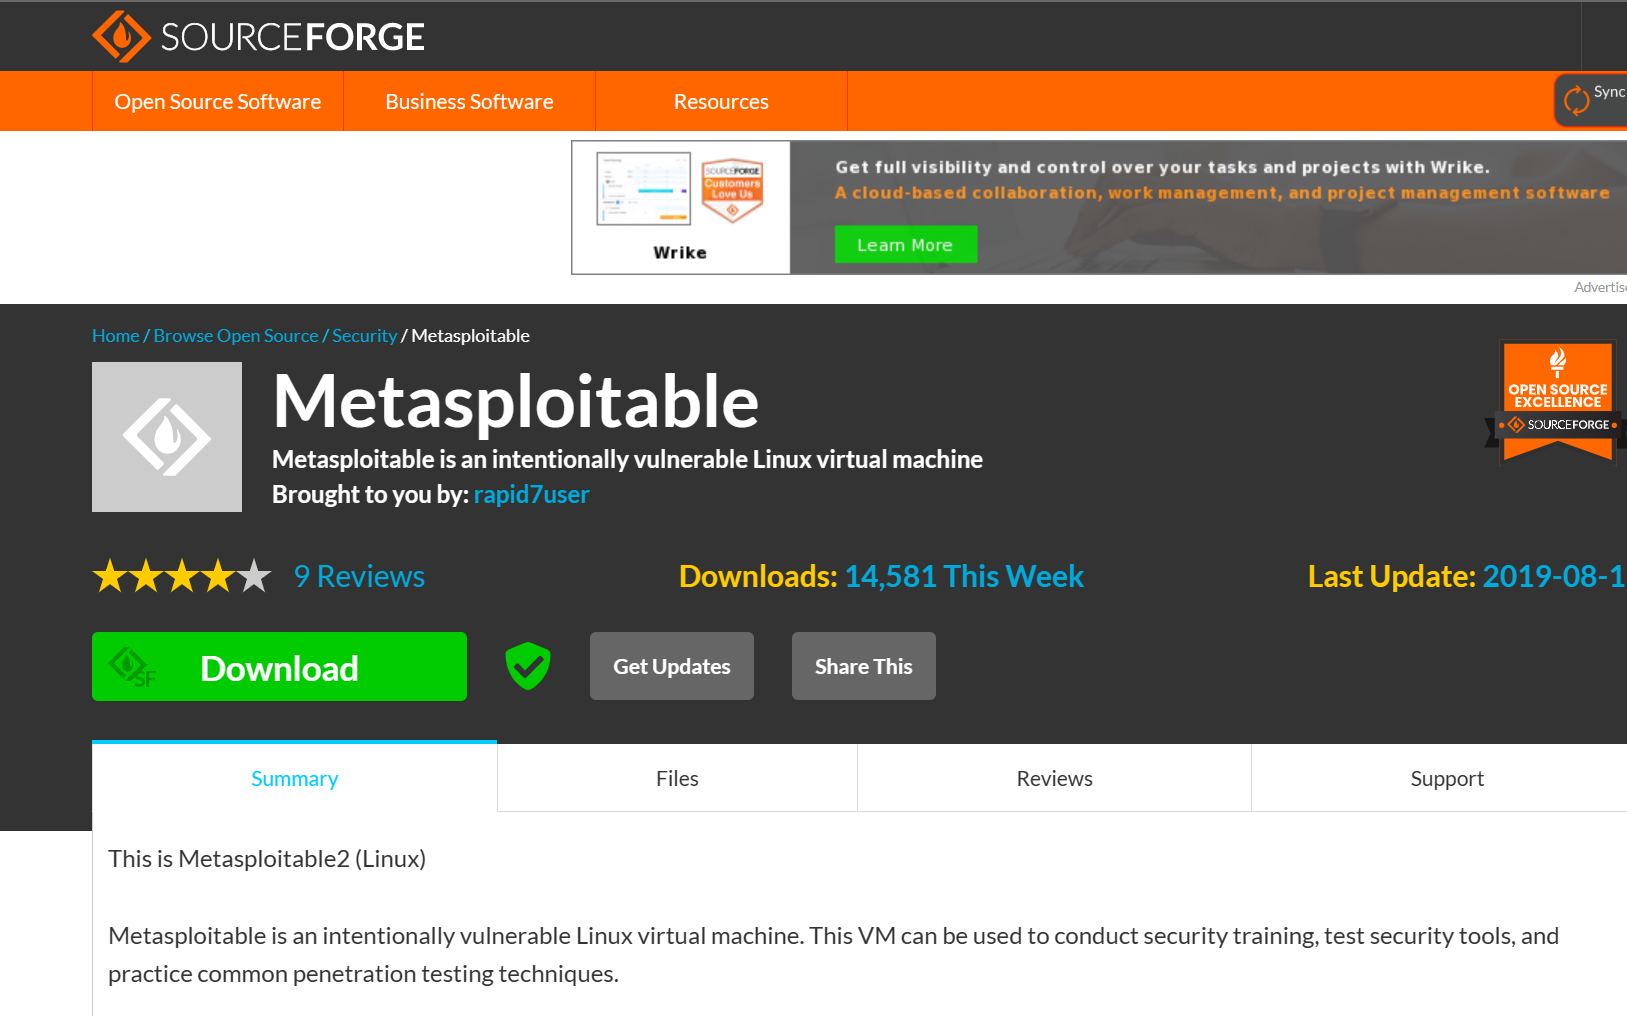
The download will come in a zipped folder. You can extract the contents of the folder by right-clicking it > selecting Extract All > choosing the Destination of the extracted files > and clicking Extract.
Now, open up VirtualBox. In the home screen, click New to create a new virtual machine.
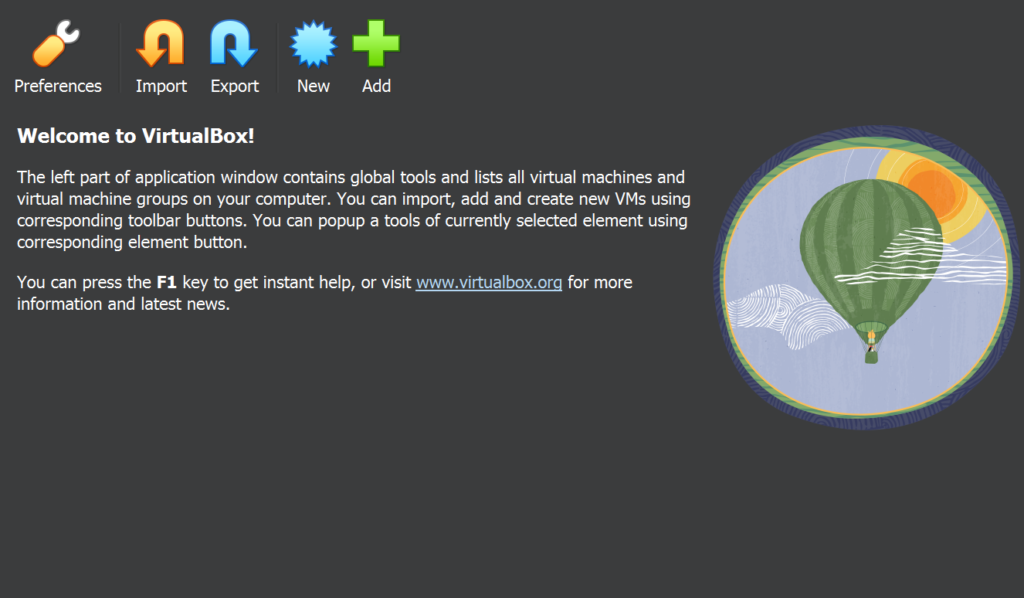
In the dialog box, fill out the required information:
- For the Name, you can enter Metasploitable 2.
- The information in the Folder field may vary, you can just leave it with the default option.
- Leave the ISO Image field blank.
- For Type, select Linux.
- For the Version field, choose Other Linux (64-bit)
Click Next.

To configure the Hardware, you can select 1 GB for the Base Memory also called RAM.
For the Processors, 2 CPUs will work fine. Click Next.

Click Use an Existing Virtual Hard Disk File.

Then choose a Virtual Hard Disk File by clicking the Add icon.

Look for the file in your downloads folder and click Open, then click Choose.

After clicking Next, you can see the summary for the virtual machine’s configuration. Click Finish.

Now start Metasploitable 2.
Uh oh, seems like we ran into a problem. Don’t panic, we will resolve this together.
First, power off the virtual machine.
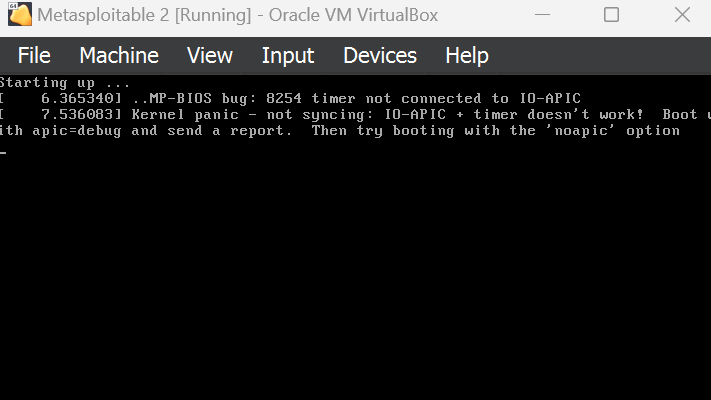
Start Metasploitable again.
When you see the following screen, press Escape on your keyboard.
Note: You only have a few seconds to perform this action, if you failed to do so, you have to restart again.

Press ‘e‘ on your keyboard to edit.

Press ‘e‘ again.

Type ‘noapic‘ and press Enter.
Note: Keep in mind the space before the word ‘noapic’.
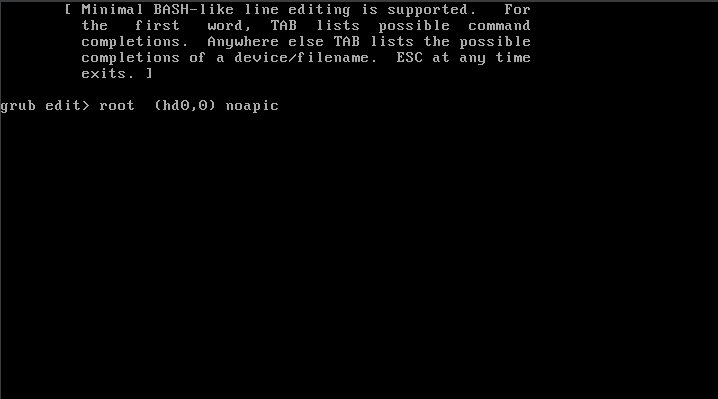
Press the down arrow key and press ‘e‘ to edit.

Type ‘noapic‘ just like in the previous instruction.
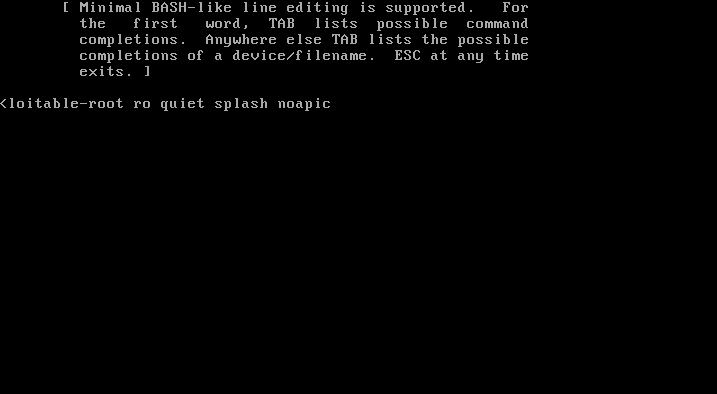
Now press ‘b‘ on your keyboard to boot Metasploitable 2.

Congratulations! You have fixed the issue.
Now we can log into Metasploitable 2 using the default credentials:
username: msfadmin ; password: msfadmin
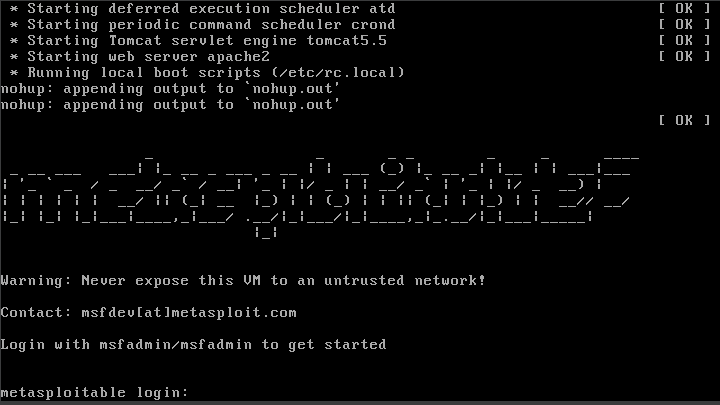
Note: The operating system does not have a GUI by default. Instead, it is designed to be used via command line interface (CLI).
Installing and Configuring Nessus
Nessus is a proprietary vulnerability scanner developed by Tenable Inc. It is used by security professionals to scan systems for vulnerabilities and provide recommendations on how to fix them.
We will be installing Nessus into our Kali Linux virtual machine. If you don’t have a Kali VM installed, you can refer to this guide on How to Install Kali Linux.
First, start up your Kali VM, open a web browser and go to this link to download Nessus Essentials: Tenable Nessus Essentials Vulnerability Scanner

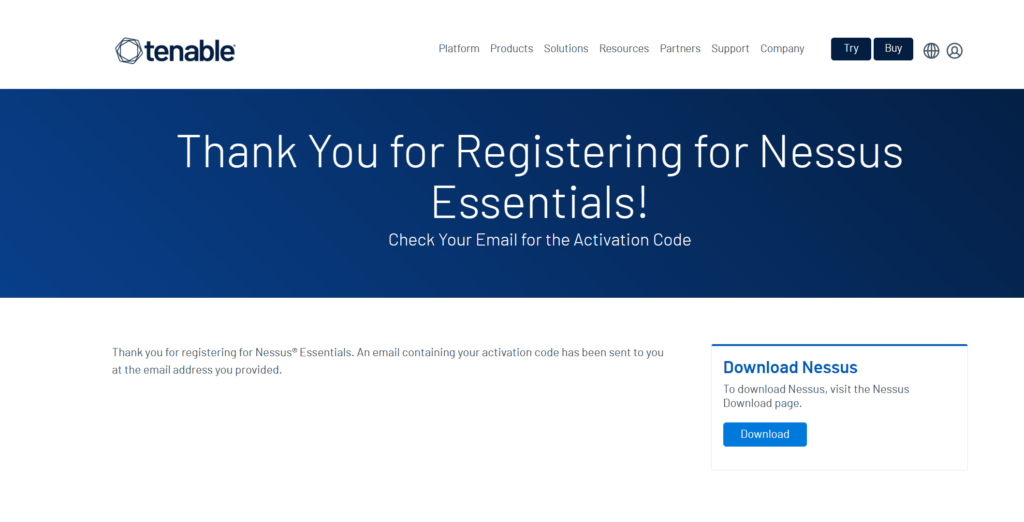
You will have to fill out the form to obtain an activation code. After registering your information, click the Download button to go to the site where you can download Nessus Essentials.
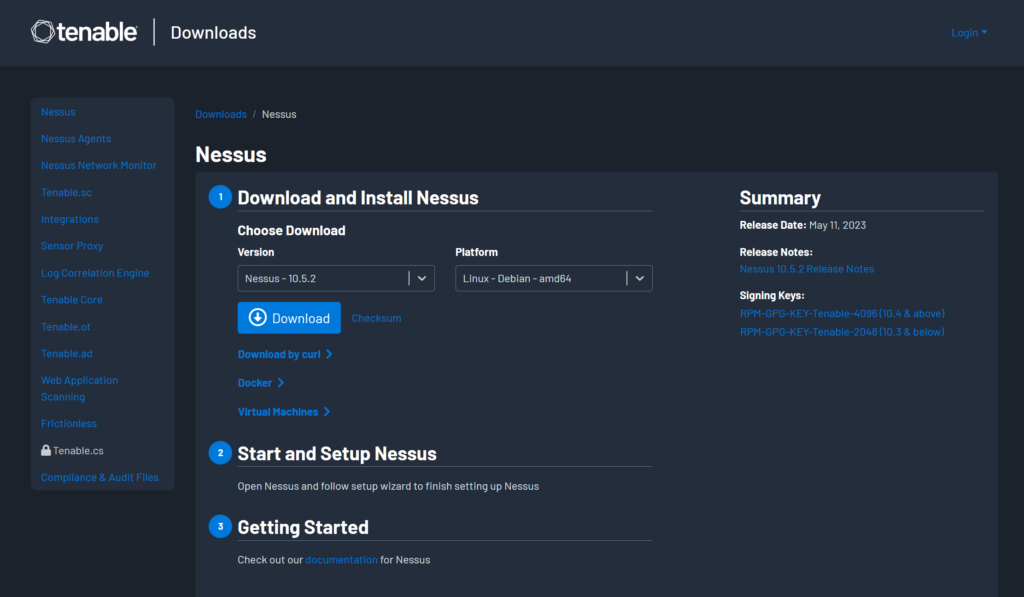
Choose the appropriate download version and platform, here I selected Linux-Debian-amd64 since I’m using Kali Linux OS. Then click Download.
A dialog box will pop up, click I Agree to agree to the License Agreement.

Open the Terminal application and go to your Downloads directory to verify if the download was successful.
Here, we can see it was successfully downloaded.

Install the Nessus package by typing the command sudo dpkg -i Nessus-10.5.2-debian10_amd64.deb
learncyber@kali:~$ sudo dpkg -i Nessus-10.5.2-debian10_amd64.debThe dpkg command is used to install, remove, and manage Debian packages and using the -i option specifies that the package is to be installed. We used sudo to execute the command with administrative privileges.

Now, you can start and check the status of the Nessus service by entering the following commands:
learncyber@kali:~$ sudo systemctl start nessusd.servicelearncyber@kali:~$ sudo systemctl status nessusd.serviceThe systemctl command is used to control the systemd system and service manager while the start option is used to start the specified service.
The command sudo systemctl status nessusd.service is used to check the status of the Nessus service on your Linux machine. The output will show you whether the service is running or not, and if it’s not running, it will give you an error message that can help you troubleshoot the issue. You can also use this command to check the status of other services installed on your machine.

To access the Nessus web interface, open the browser and use either of the following URLs: https://127.0.0.1:8834 or https://localhost:8834
Note: The web interface uses port 8834 as you may have read from the output when we installed the Nessus package.
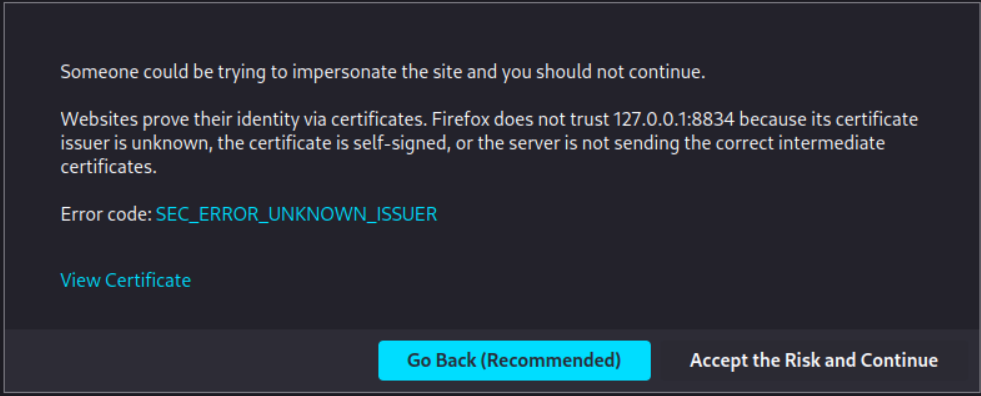
A warning message will appear similar to the one shown in the image below, you can click Advanced.

Click Accept the Risk and Continue.
Click Continue.

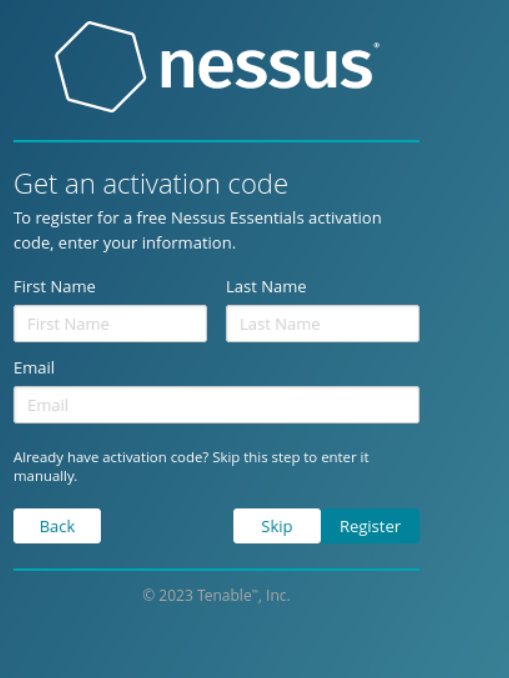
Select Register for Nessus Essentials and click Continue.

Since we have already registered, we can Skip this part.
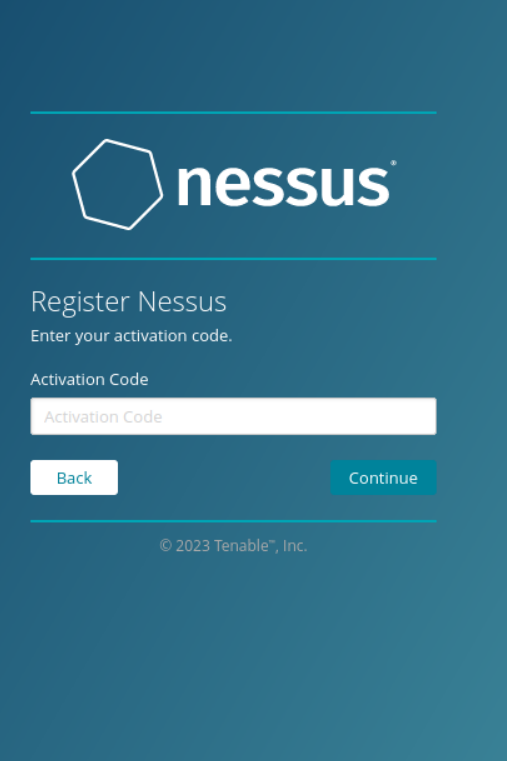
Here, you can paste the Activation Code that was sent to your email when you registered. Click Continue.
Note: This is a one-time code, if you uninstall and then reinstall Nessus, you will need to register again and receive another activation code.
To confirm, click Continue.

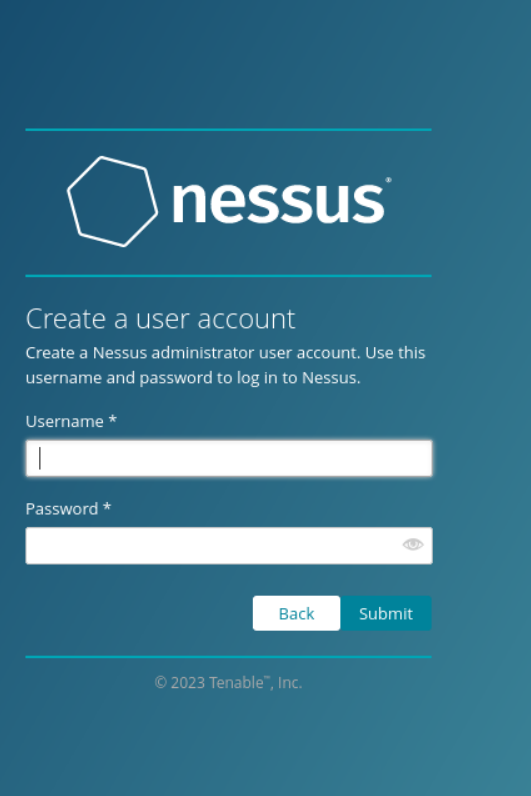
Now, create a user account, then click Submit.
It will begin downloading the plugins, this process may take a while so be patient.
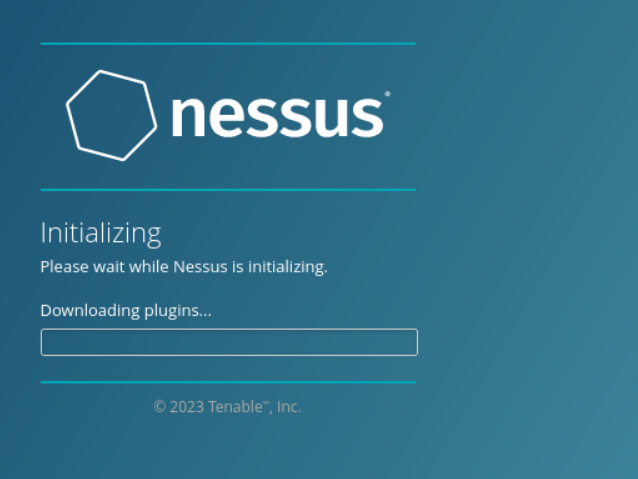
Once initialization is complete, you will be greeted by the following interface:
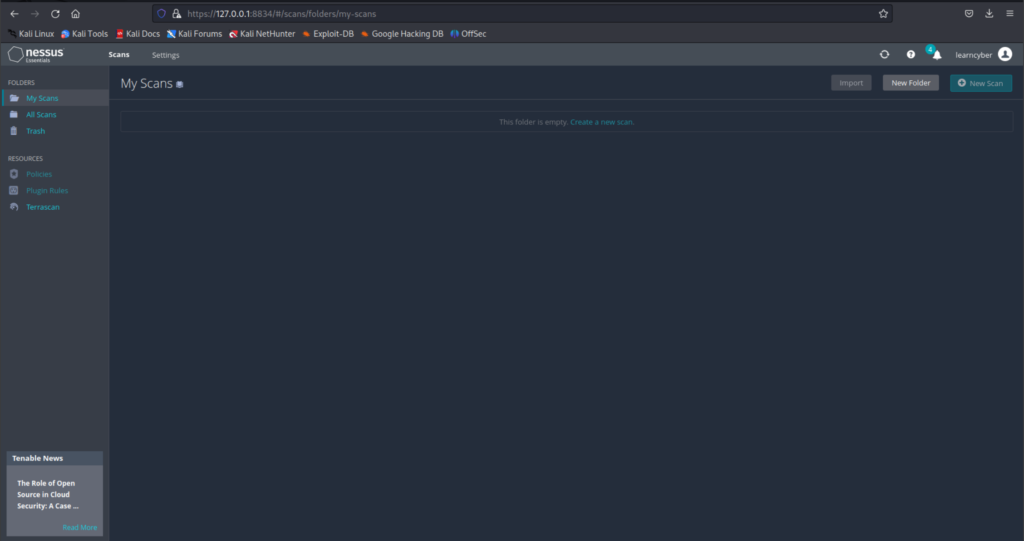
Configuring the Network Adapter Settings
We are going to configure the network adapter setting for our machines so they can be on the same network to conduct the scan.
Go to Network Manager by going to the Tools bar on the upper-left corner of VirtualBox, clicking on the three-bullet point icon, then clicking on Network.

We will create a new NAT Network. Go to the NAT Networks tab and click Create.

Enter the following information under the General Options tab, then click Apply.

Now go to your Kali Linux network settings and copy the following configurations and click OK.

Do the same for Metasploitable 2.

Now we will the check the IP configurations for each virtual machine to see if they are on the same network.
Open the Terminal and type the command ifconfig for both the machines.


We have confirmed that they are on the same network.
You can also use the ping command from Kali to verify connectivity to Metasploitable 2.

Conducting the Scan
On the Scans page, you can create, view, and manage scans and resources. The left navigation bar shows the Folders and Resources sections. Create a scan by clicking New Scan.
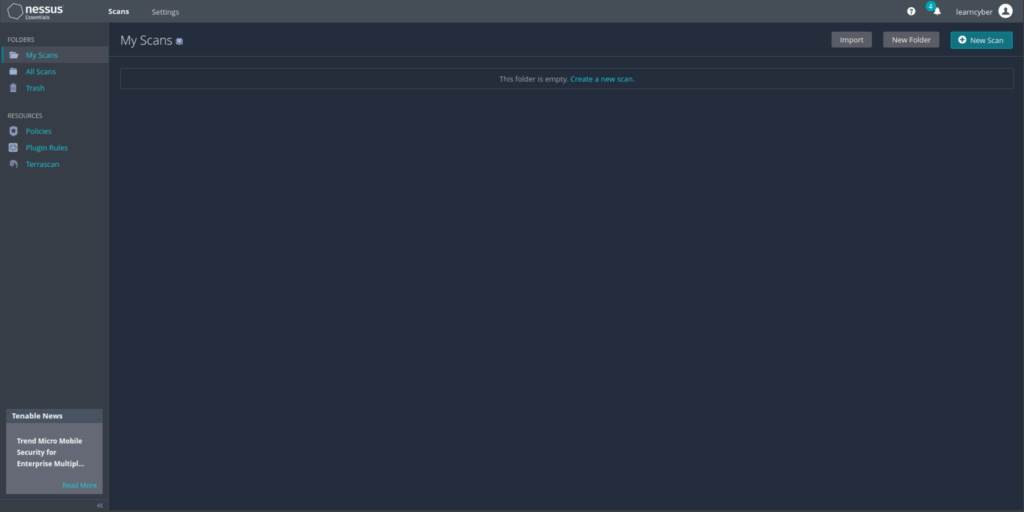
Note: You cannot create scans while Nessus compiles plugins and this process takes a while to complete. You would know that because the New Scan button would be greyed out.
When you first create a scan or policy, the Scan Templates section appears. Templates allow you to specify the type of scan you’re performing. They are sorted by the functionality that they provide.
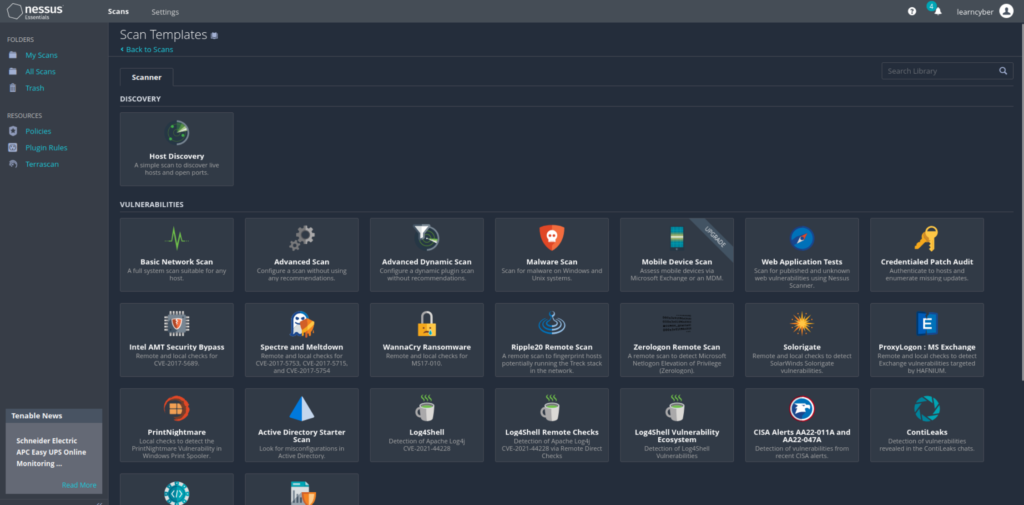
Nessus provides three template categories:
- Discovery – allows you to see what hosts are on your network including information such as IP address, FQDN, operating systems, and open ports, if available. After you have a list of hosts, you can choose what hosts you want to target in a vulnerability scan.
- Vulnerabilities – recommended for most standard and day-to-day scanning needs. Tenable also publishes vulnerability scan templates that allow you to scan your network for a specific vulnerability or group of vulnerabilities. Tenable frequently updates the Nessus scan template library with templates that detect the latest vulnerabilities of public interest.
- Compliance – also referred to as configuration scans, is recommended for checking whether host configurations are compliant with various industry standards.
Note: Since we are using a free version of Nessus (Nessus Essentials), we are not allowed to use Compliance scan templates, you need to upgrade to the paid version to use this feature.
Knowing what hosts are on your network is the first step to any vulnerability assessment. We will launch a host discovery scan to see what hosts are on our network. Click on Host Discovery.
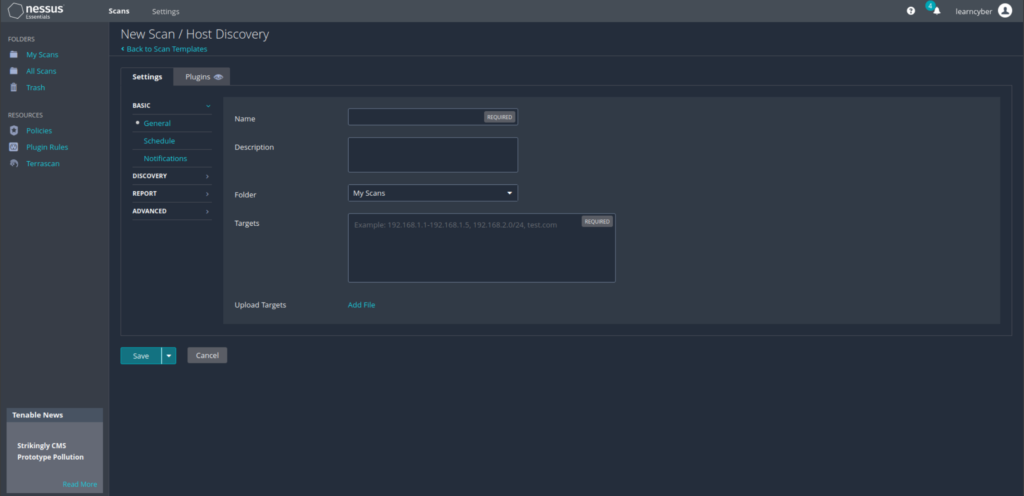
Enter a Name for the scan, you can also add a Description to provide specific details about the scan.
For the Targets, you can enter hostnames, IPv4, or IPv6 addresses. I entered 192.168.100.0/24. This means that I want Nessus to scan my NAT Network 1 which is in the 192.168.100.0 network, as indicated by the /24 CIDR notation. Click Launch to start the scan.

This will perform a simple scan to discover live hosts and open ports.
Note: If you don’t want to launch the scan right away, you have the option to Save it for later.
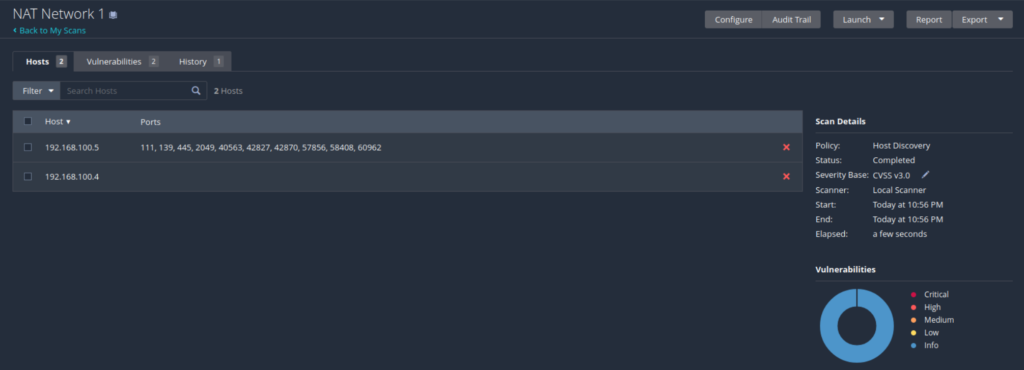
Now click on the NAT Network 1 scan to see the results.

Here, we can see the results of the scan showing our two hosts; Kali Linux and Metasploitable 2 represented by their IPv4 addresses. We can also see the open ports.
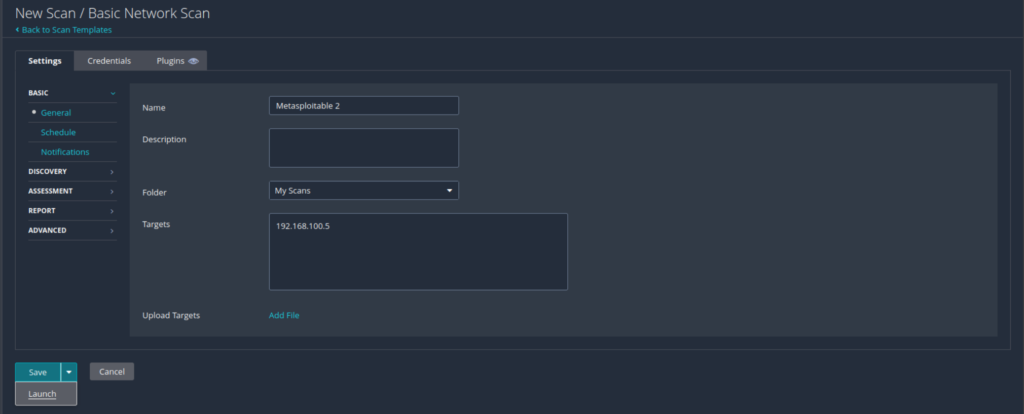
Now, let’s do a basic network scan. A basic network scan essentially allows you to scan an asset or assets with all of Nessus’s plugins enabled. This scan provides a quick and easy way to scan assets for all vulnerabilities.
Enter the information as shown in the image below. Keep in mind that the target 192.168.100.5 is the IP address assigned to Metasploitable 2. Click Launch.
While waiting for the scan to finish, let’s talk a little bit about scan Settings, Credentials, and Plugins.
Settings enable you to refine parameters in scans to meet your specific network security needs. A scan settings’ configurations greatly affect the scan’s capabilities, performance, and scan time. The scan settings you can configure vary depending on the scan template you selected.
It is divided into 5 categories: Basic, Discovery, Assessment, Report, and Advanced.
- The Basic scan settings are used to specify certain organizational and security-related aspects of the scan, including the name of the scan, its targets, whether the scan is scheduled, and who has access to the scan.
- The Discovery settings determine the scan configuration’s discovery-related capabilities: host discovery, port scanning, and service discovery.
- Assessment allows you to configure how the scan identifies vulnerabilities and which vulnerabilities the sensors identify. This includes identifying malware, assessing the vulnerability of a system to brute force attacks, and the susceptibility of web applications.
- The Report settings affect the verbosity and formatting of scan reports you can create for the scan configuration.
- Advanced allows you to configure more general settings, performance options, and debugging capabilities among other things.
Credentials determine the credentials used for scanning an organization’s assets. Providing scanners with credentials (credentialed scanning) allows for scanning a large network and identifying local vulnerabilities that require specific access. Adding more credentials enables authentication of more assets but may prolong scan duration. Fully credentialed scans are preferred as they provide significantly more information for effective risk identification and prioritization.
Plugins allow you to enable or disable plugin families for the scan configuration. Enabling and disabling plugin families determines what security checks the scan does and does not perform.
Now our basic network scan is complete. We can click on Metasploitable 2 to see the results of the scan.

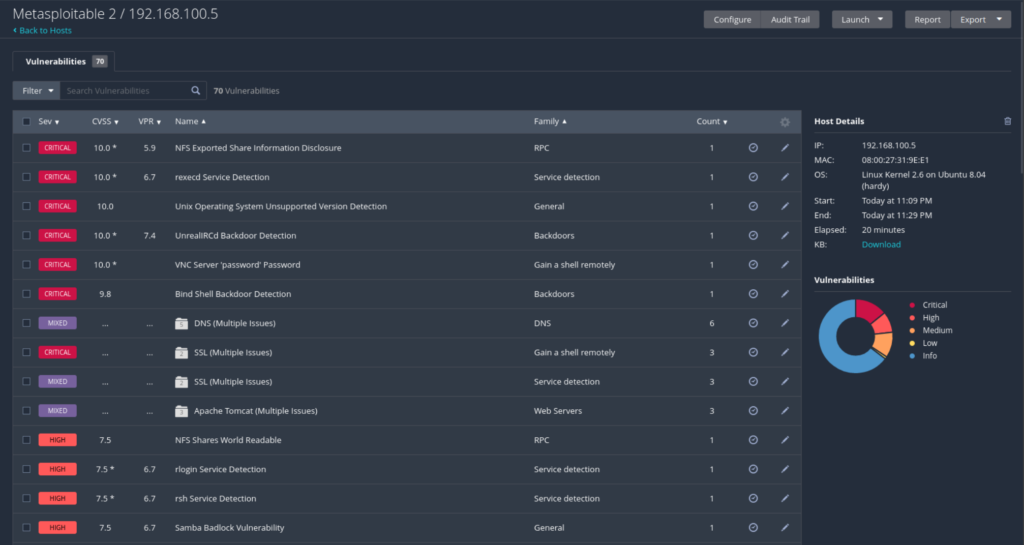
Here, we can see the results showing the huge number of vulnerabilities in our Metasploitable 2 virtual machine. Click on Vulnerabilities.
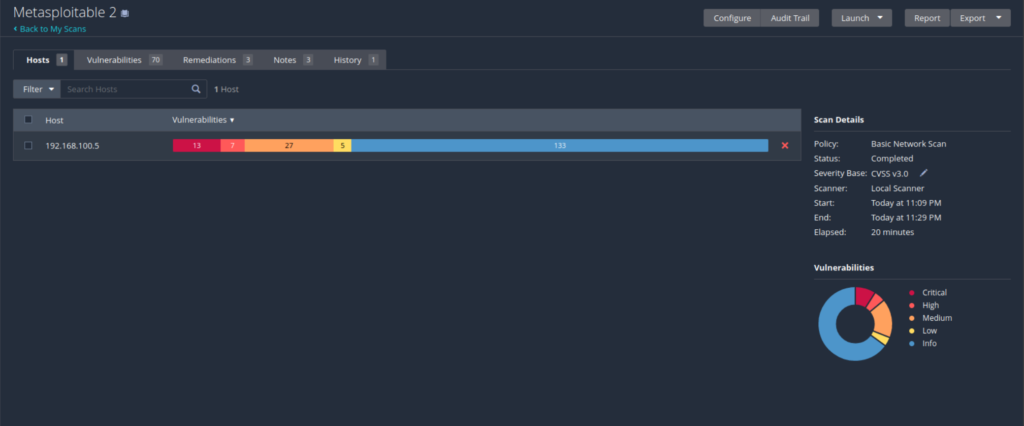
Here we can see the vulnerabilities classified into Critical, High, and Mixed. You can also see the names of the specific vulnerabilities with their corresponding CVSS scores.
Congratulations! You have successfully performed a vulnerability scan using Nessus.
Summary
Vulnerability scanning plays a crucial role in vulnerability management by identifying and assessing potential security weaknesses within a system or network. It helps organizations proactively identify vulnerabilities before they can be exploited, enabling timely remediation. By regularly scanning and monitoring for vulnerabilities, organizations can enhance their security posture and reduce the risk of cyberattacks.
In the next article, we will be interpreting the results of the vulnerability scan.
