
This article will guide you on how to install Kali Linux as a virtual machine on your VirtualBox. At the end of the article, you will also learn how to install VirtualBox Guest Additions to increase the functionality of your new virtual machine.
Note: If you don’t have VirtualBox installed, you can refer to this article on How to Install VirtualBox.
Before we get started, let’s define a few key terms first.
What is Kali Linux?
Kali is an open-source, Debian-based Linux distribution geared towards various information security tasks, such as Penetration Testing, Security Research, Computer Forensics and Reverse Engineering. Maintained and funded by Offensive Security, it comes with a significant complement of hacking tools.
For a beginner, installing Kali into a virtual machine is one of the best solutions for learning and practicing technical skills in Cybersecurity.
What is a Virtual Machine?
A virtual machine (VM) is a virtual representation, or emulation, of a physical computer. They are often referred to as a guest while the physical machine they run on is referred to as the host. In other words, a virtual machine is like having another computer inside your computer. It is often used to run multiple operating systems on a single physical machine like a laptop/desktop, or to test software on different operating systems without having to install them on separate physical machines.
Getting Started
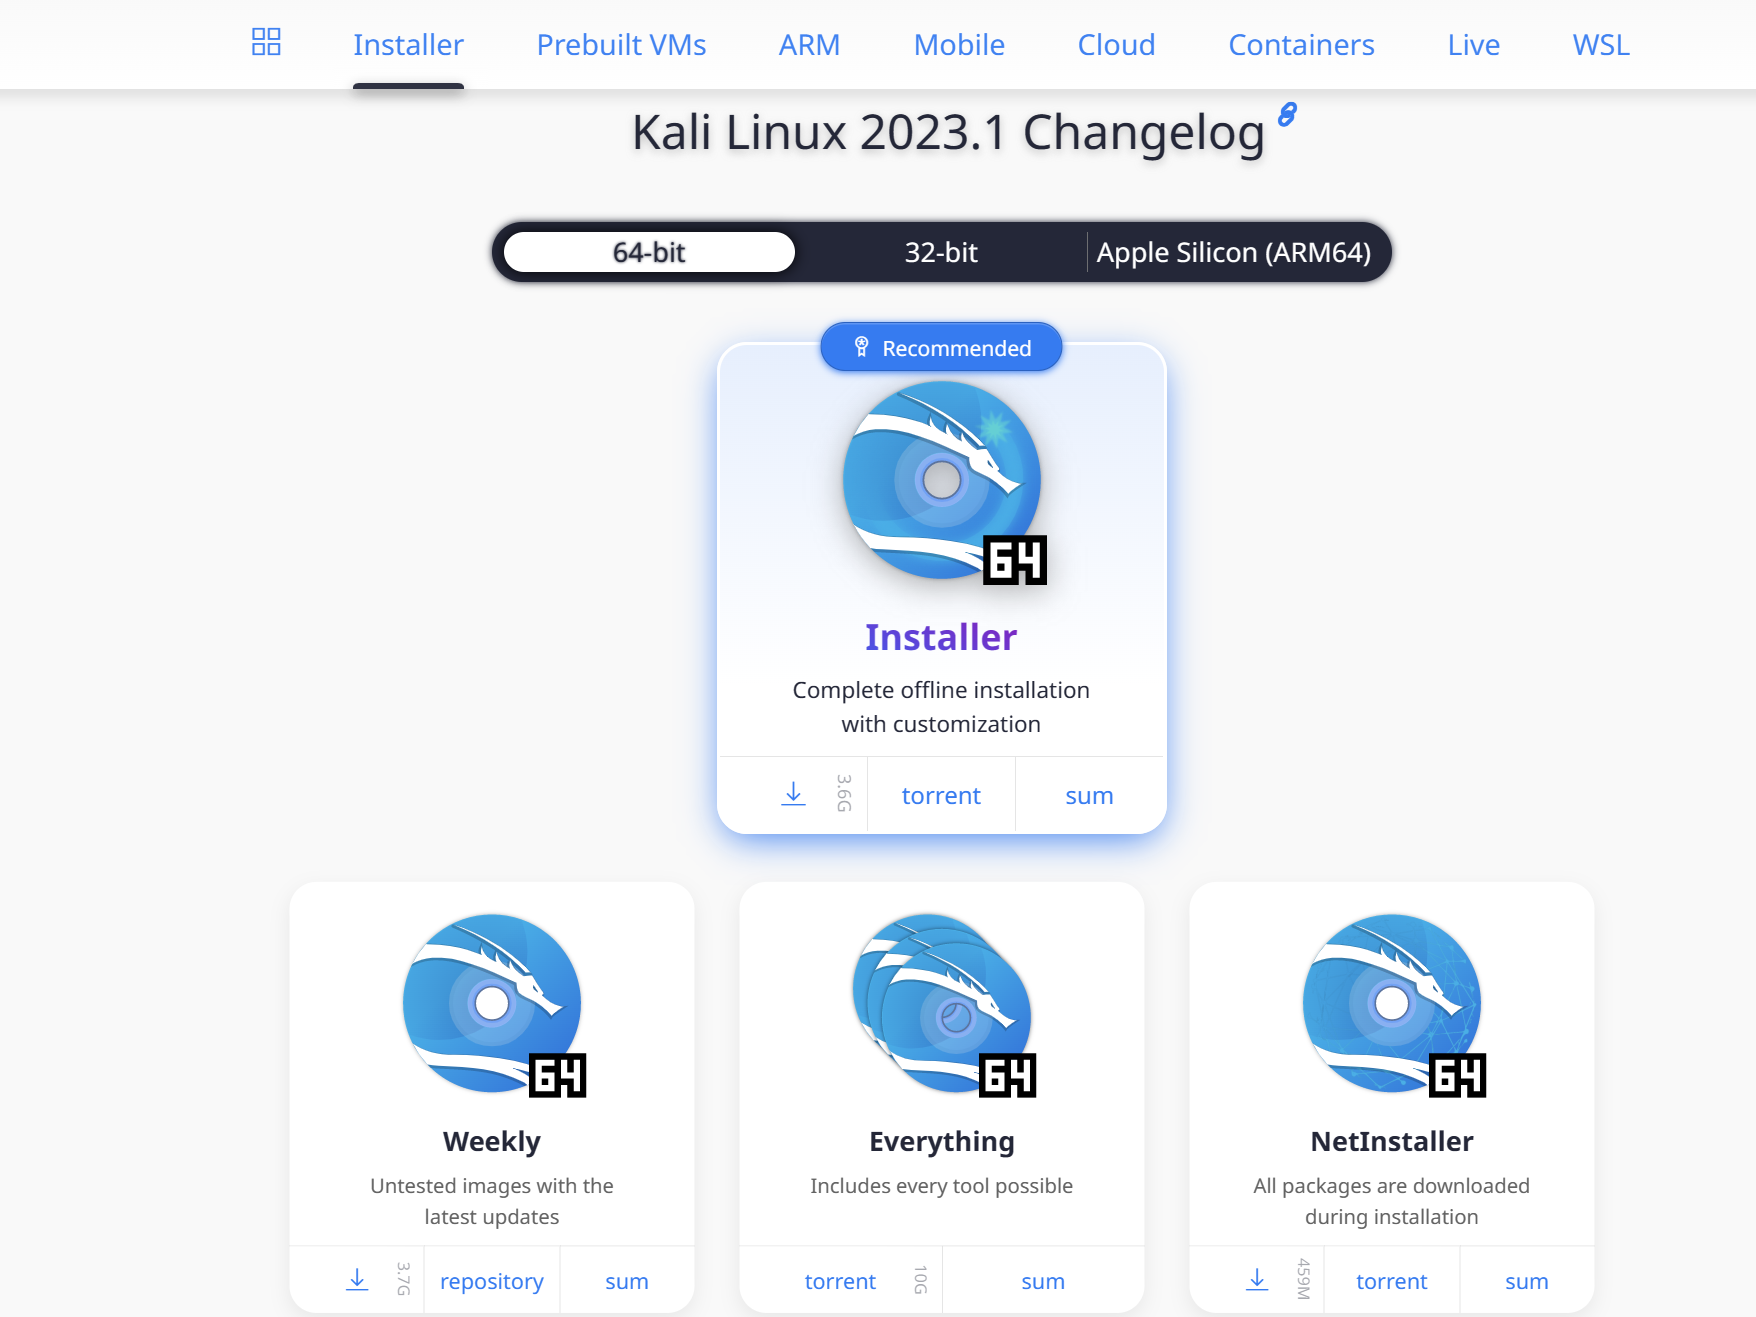
You can download and install Kali from https://www.kali.org/. In this page, you will see multiple download options from Installer images to Pre-Built Virtual Machines as well as ARM images for mobile devices. It’s important to choose the right download. For this installation, we will be downloading the recommended 64-bit version from the Installer images. You also have the option to download the 32-bit version if you have a 32-bit system. Click the drop-down arrow to start downloading.
Once the download is done, you can start setting up your Kali Linux.
First, open your VirtualBox. In order to create a new virtual machine, you need to click New.

A dialog box will open. Here it will require you to name your new VM, choose the folder where you want the VM to be located, and select the ISO image for the VM.
- For the name you can write Kali Linux.
- For the Folder you can leave it as default.
- For the ISO image click the drop-down arrow and select other, look for the Kali Linux ISO image that you just downloaded.
Then, click Next.

Here, you need to select how much RAM you want to allocate to the VM. The more RAM you give your virtual machine, the better and faster it will run, but you must also leave enough RAM for your host operating system and any other virtual machines that you might run simultaneously. A good starting point is to allocate 2 GB. Click Next.

Click Create a Virtual Hard Disk. Aim for at least 25 GB of disk space then click Next.

Now it’s going to show you a summary of your chosen configurations, click Finish to create the virtual machine.

At this point, you should see the new VM on your VirtualBox. Now click Start.

Setting up Kali Linux
You should be greeted with the Kali Linux boot screen. Select Graphical install and press Enter.

Select your preferred language.

Specify your geographic location.

Select your keyboard layout.

The setup will now probe your network interfaces, look for a DHCP service, and then prompt you to enter a hostname for your system. In the image below, we’ve entered kali as our hostname.
After that, it’s going to ask you for a domain name, you can skip that and click Continue.

Next, create the user account for the system (full name, username and a strong password).

Select a time zone.

Choose Guided – use entire disk and click Continue.

Select the disk to be partitioned and click Continue.

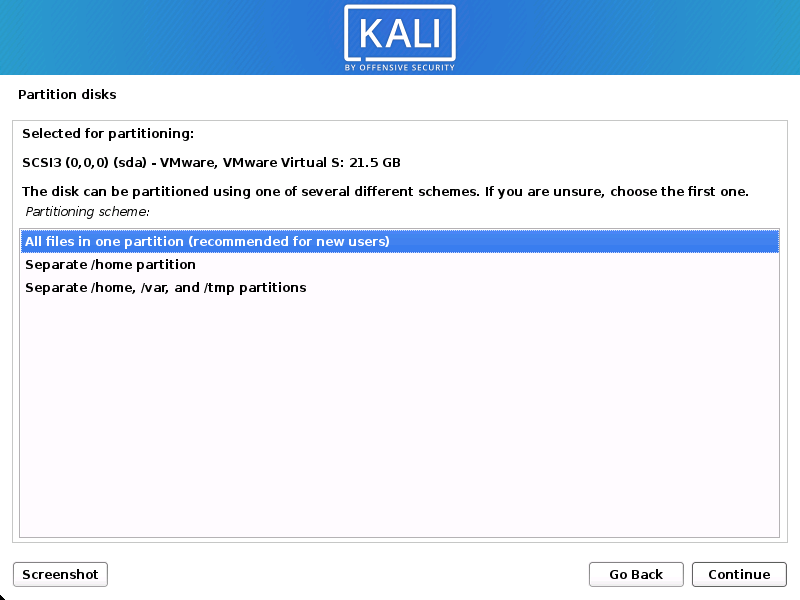
Now, you can choose to keep all your files in a single partition or to have them in separate partitions. Note: If you’re not sure which one you want, select “All files in one partition”, then click Continue.

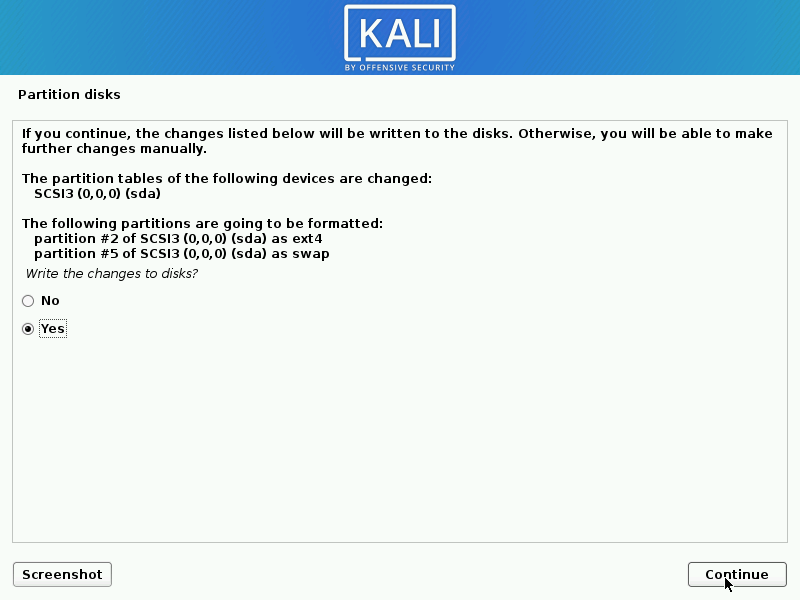
You will be asked whether to write your changes to disk, select Finish partitioning and write changes to disk and click Continue.

It will ask you one more time if you want to write changes to disk; click Yes then Continue.

Next you can select your preferred Desktop Environment and software collection (metapackages) you would like to be installed with Kali Linux. It is recommended to stick with the default selections.
Note: Opting to not install a desktop environment will result in Kali Linux becoming “headless” (no graphic interface) this is meant for people who are completely comfortable with the command line.

Kali will now begin installing, this may take several minutes.

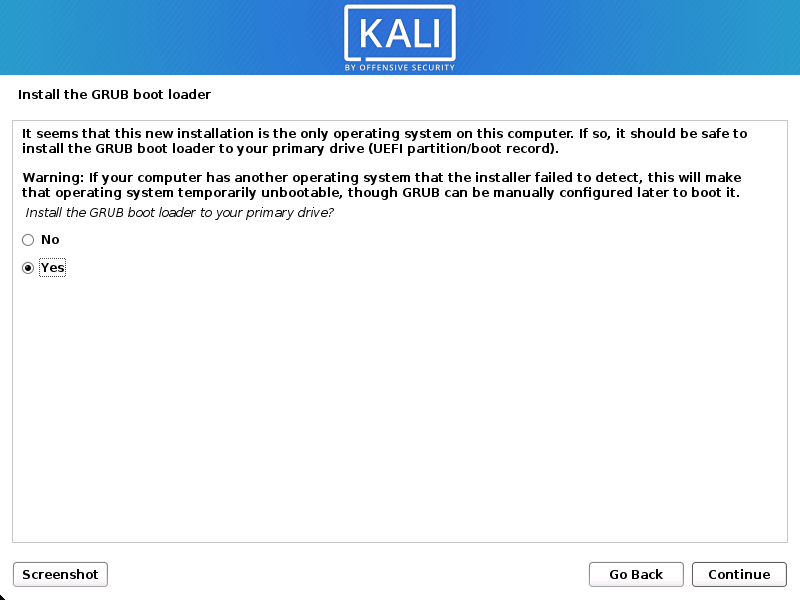
Now, it will ask whether you want to install the GRUB boot loader. Select Yes then click Continue.

Select the hard drive to install the GRUB bootloader in, then click Continue.
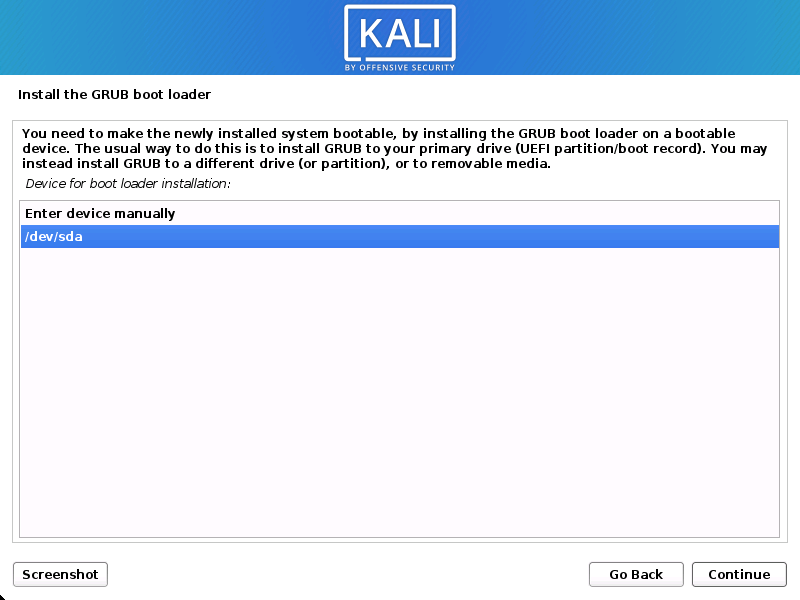

Finally, you’re almost done, click Continue to reboot into your new Kali Linux installation.

Congratulations, you have successfully installed Kali Linux! You can now log in using the user account information you entered earlier.

Kali Linux Desktop:

Installing VirtualBox Guest Additions (Guest Tools)
What is VirtualBox Guest Additions?
VirtualBox Guest Additions are extra pieces of software that enable better performance and functionality in virtual machines. They consist of device drivers and system applications that optimize the operating system for better performance and usability.
Installing “Guest Additions” gives a better user experience with VirtualBox VMs offering the following benefits:
- Mouse point integration
- Improved graphic support
- Shared clipboard between host and guest OS
- Shared folder support between host and guest OS
- Seamless App Windows
How to Install Guest Additions
First make sure you are fully updated by entering the following commands:
learncyber@kali:~$ sudo apt updatelearncyber@kali:~$ sudo apt full-upgrade -yThe full-upgrade command performs the function of upgrade but will remove currently installed packages if this is needed to upgrade the system as a whole (fixing bad dependencies then).
The -y option is used to download any available updates and apply them to the outdated packages installed in a Linux system without prompting the user to confirm the changes.
Note: When using the command sudo, you will be prompted for a password, use the password you entered for the account you created when setting up Kali.

Now, enter the following:
learncyber@kali:~$ sudo apt install -y --reinstall virtualbox-guest-x11The command sudo apt install -y --reinstall virtualbox-guest-x11 installs the VirtualBox Guest Additions package on a Linux system. The -y flag tells the package manager to assume yes to all prompts and the --reinstall flag tells it to reinstall the package even if it is already installed.

Now, you will reboot the system.
learncyber@kali:~$ sudo reboot -fThe command sudo reboot -f in Linux is used to force an immediate halt, power-off, or reboot. This results in the immediate but clean shutdown by the system manager.

After reboot, you can log in again using the same credentials.
If the window doesn’t automatically go into full-screen mode upon login, go to View on the top-left corner then click Full-screen Mode.

Congratulations! You have successfully installed VirtualBox Guest Additions.