
In this article, you will learn how to install and configure Internet Storm Center’s (ISC) DShield Honeypot on an Ubuntu Server VM. If you don’t have the VM installed yet, you can refer to our article on How to Install Ubuntu Server on VirtualBox.
Before we start, let’s talk a little bit about honeypots and the Internet Storm Center.
What is a Honeypot?
Imagine a honeypot like a trap or a decoy. In cybersecurity, a honeypot is a fake system or network designed to look appealing to hackers. When attackers try to break into it, security researchers can observe their techniques and learn how to protect real systems better.
Implementing a honeypot in a network is important for security research because it provides a safe environment to study and understand the tactics of hackers without putting real systems at risk. It helps researchers learn about new threats, identify vulnerabilities, and develop stronger defenses to keep actual networks safe from similar attacks.
The Internet Storm Center (ISC) is a project by the SANS Institute, a prominent cybersecurity training and research organization. The ISC serves as a global cooperative cybersecurity effort that monitors and analyzes internet security issues, including malicious activities, vulnerabilities, and emerging threats.
The primary mission of the Internet Storm Center is to provide a platform for the collection, analysis, and dissemination of information related to cybersecurity incidents. It serves as a centralized hub for researchers, security professionals, and network administrators to share information and collaborate on addressing ongoing threats.
The DShield Honeypot is a low interaction honeypot that mimics a vulnerable system and allows ISC to collect data for research purposes.
If you want to know more about ISC, you can visit their website here: SANS Internet Storm Center
Getting Started
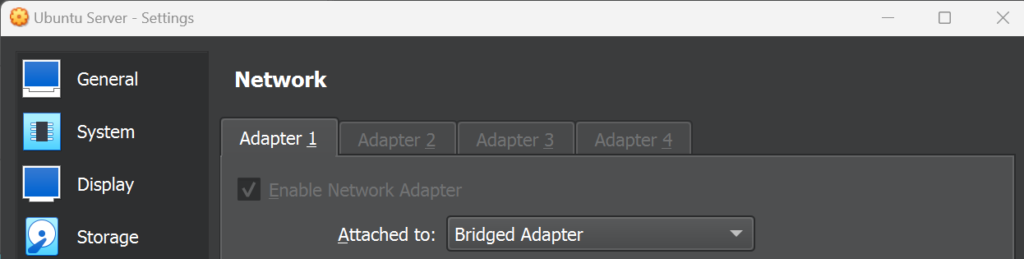
Configure the network settings for your Ubuntu VM:
- Click on the VM and click on Settings
- A dialog box will open, click on Network
- Click Adapter 1 then click Enable Network Adapter
- In the Attached to field, select Bridged Adapter
- Select the appropriate interface then click OK
This configuration will assign a unique IP address to the virtual machine as if it were a separate device on your network. This will allow you to expose the honeypot to the internet so it can gather valuable intelligence.
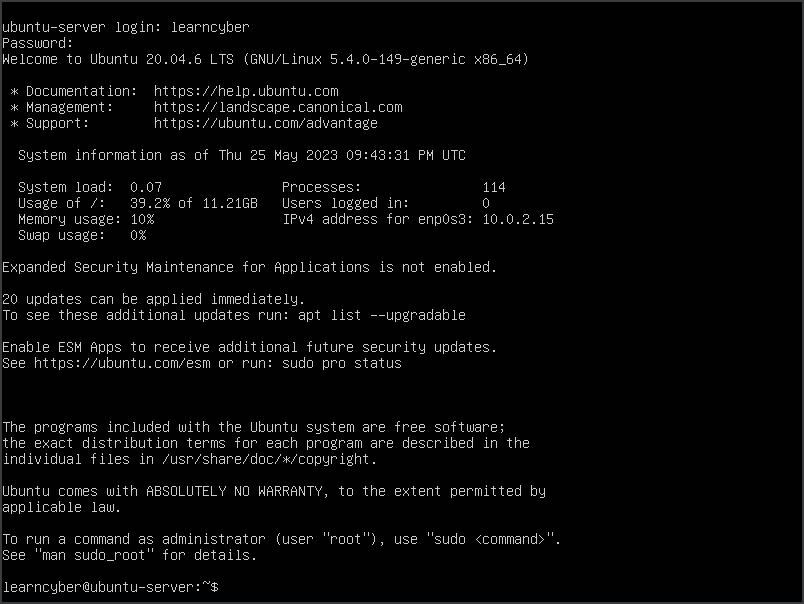
Start your Ubuntu Server and log in to your account.
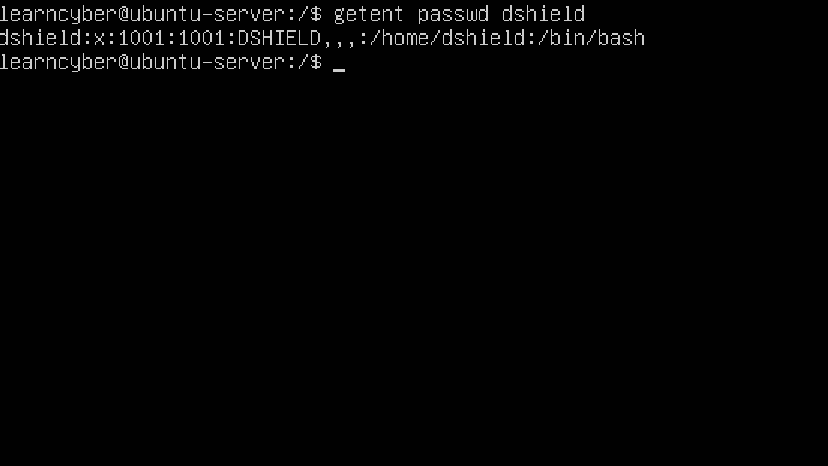
Create a user called “dshield” by typing the following command:
learncyber@ubuntu-server:/$ sudo adduser dshieldNote: You will be prompted for a password because adding new users requires root privileges.
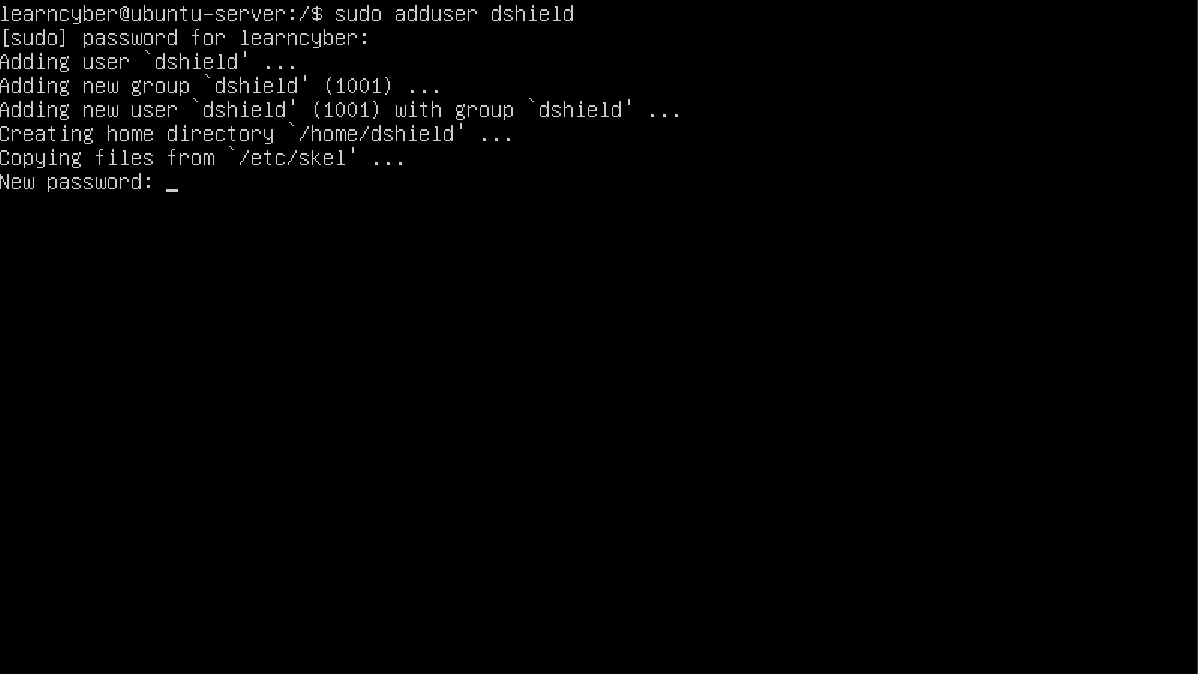
Enter information for the new user, you can enter ‘dshield’ for the Full Name field and just leave the rest of the fields blank by pressing Enter. Type Y to say Yes to the prompt.
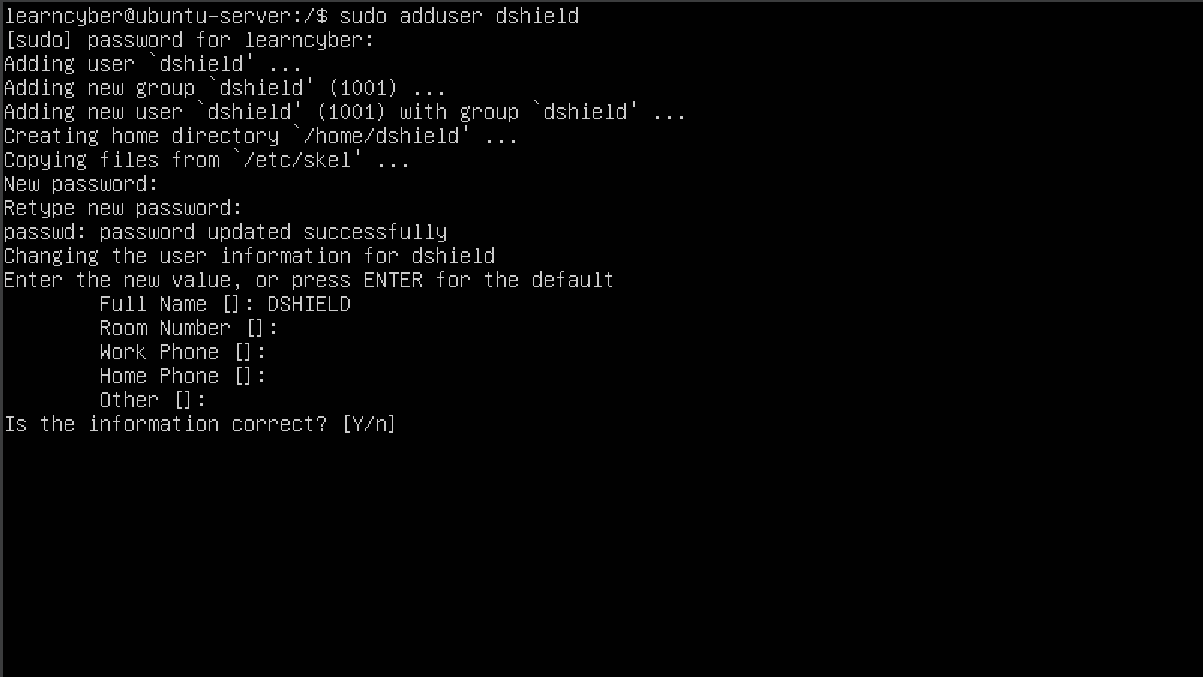
Here we can see the newly created user:
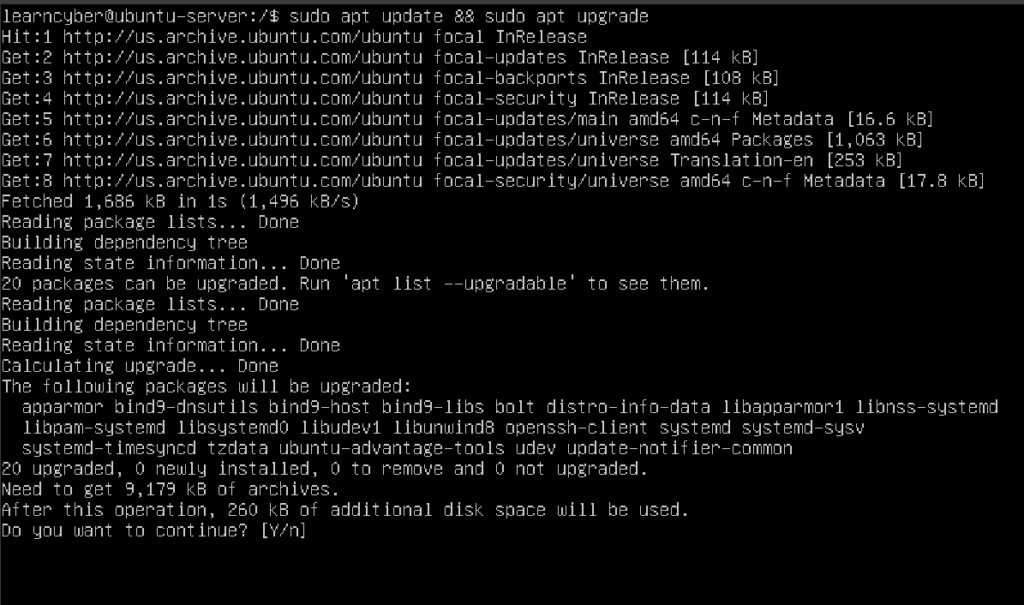
Now update the server by typing the following command:
learncyber@ubuntu-server:/$ sudo apt update && sudo apt upgrade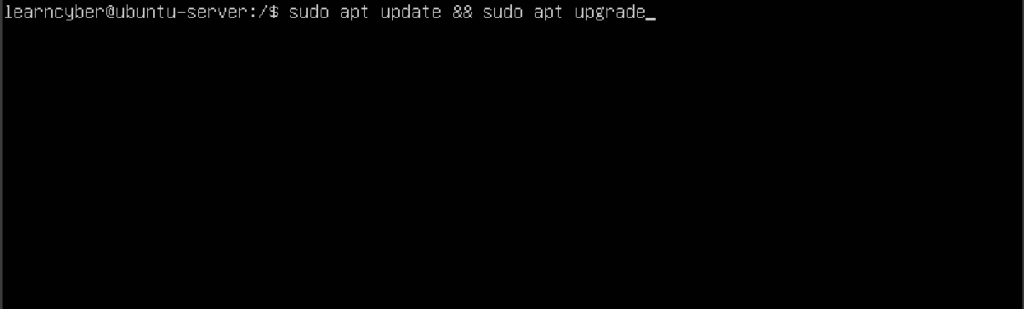
Type Y to say Yes to the prompt. This will upgrade the packages installed on your system.
Now reboot the virtual machine.
learncyber@ubuntu-server:/$ sudo rebootAfter reboot, log back in with your credentials.
Check if git is installed on the server by typing:
learncyber@ubuntu-server:~$ which git
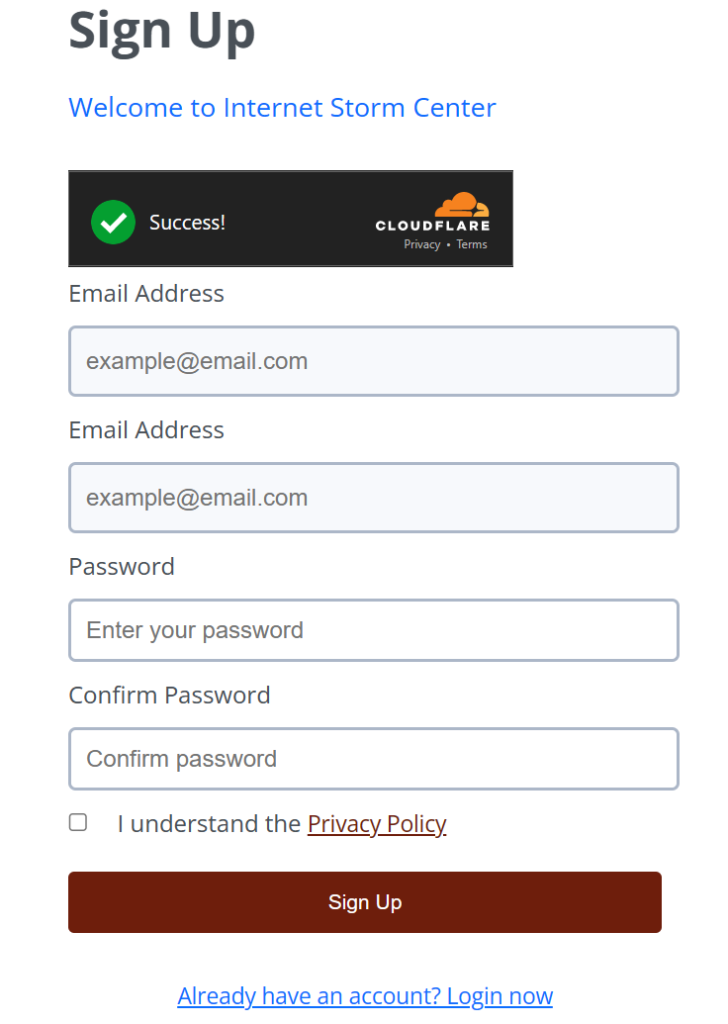
Before you start installing DShield, first sign up for an account on Internet Storm Center through this link: Register – SANS Internet Storm Center. Enter the required information and click Sign Up.
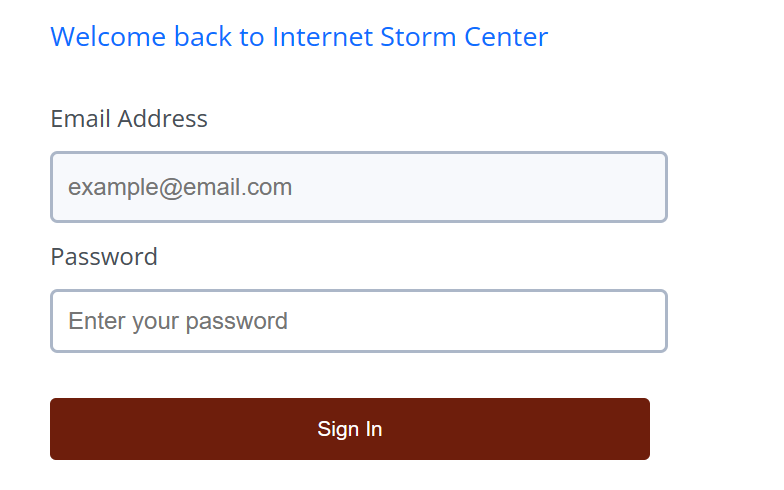
Log in to your account: Internet Storm Center
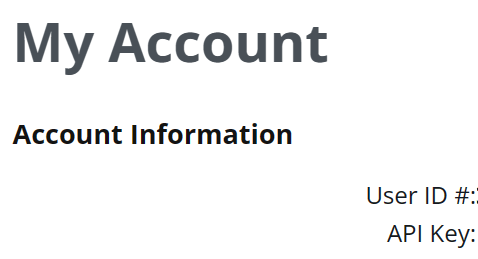
After logging in you will see your account information. Under My Account, you can see your User ID # as well as your API Key, take note of the key because you will need it later.
Create a directory called “install”. This directory will be where we clone the GIT repository.
learncyber@ubuntu-server:~$ mkdir install
Change into the install directory.
learncyber@ubuntu-server:~$ cd install
Run the following command to clone the dshield.git repository to the Install directory:
learncyber@ubuntu-server:~/install$ git clone https://github.com/DShield-ISC/dshield.git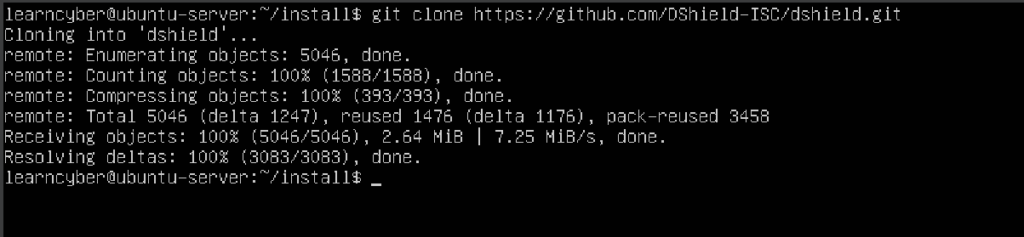
You can verify the dshield.git repository has been cloned to the Install directory by typing:
learncyber@ubuntu-server:~/install$ ls -l
Change into the dshield/bin directory.
learncyber@ubuntu-server:~/install$ cd dshield/bin/
Run the following command to execute the install script in the bin directory:
learncyber@ubuntu-server:~/install/dshield/bin$ sudo ./install.sh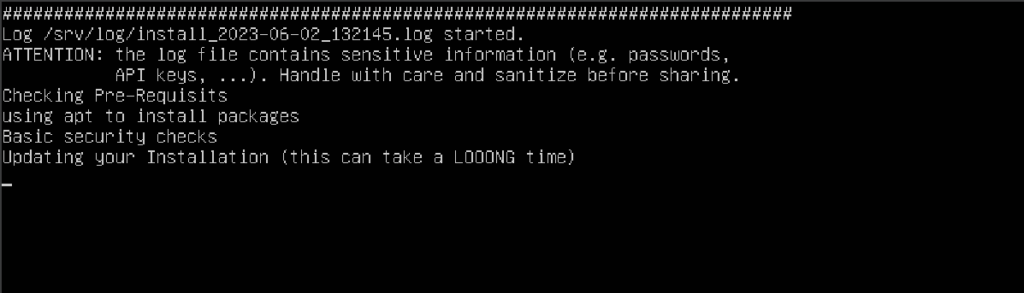
The installation script will now begin to run. This will take a while; you can read one of our articles at LEARNCYBER while waiting for it to finish.
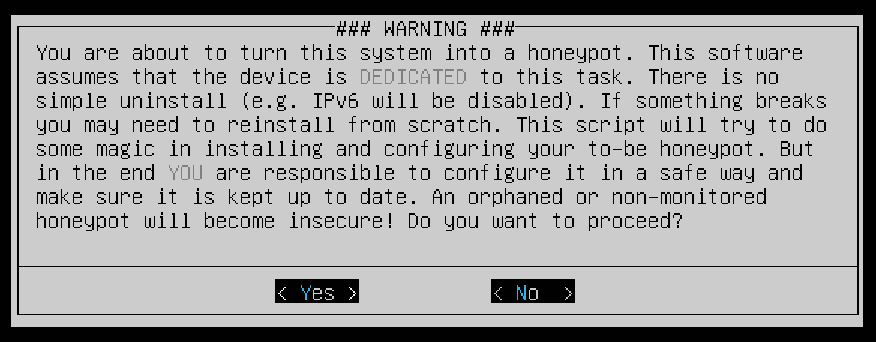
You will be prompted with a WARNING message verifying that you’re aware that you’re turning the system into a honeypot. Select Yes to proceed.
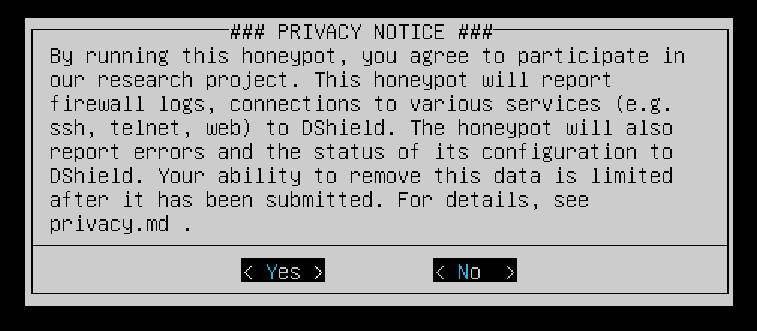
Select Yes to acknowledge that you are participating in ISC’s research project.
The next screen will ask if you’d like updates to be done automatically or manually. It’s recommended you choose automatic. Select OK to proceed.

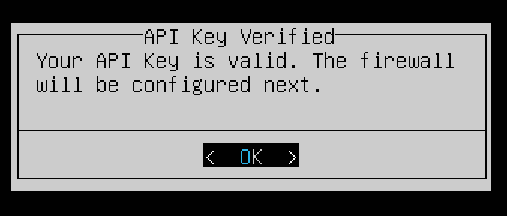
You need to enter your E-Mail Address and API Key to move forward. After that, select Verify.
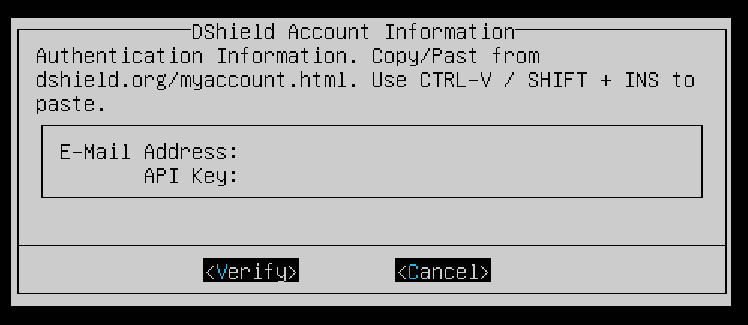
Your API Key will be verified, and you’ll be allowed to move to the next step. Select OK to continue.
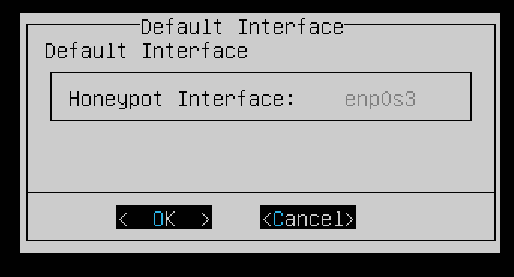
For the interface, leave the default option selected then select OK.
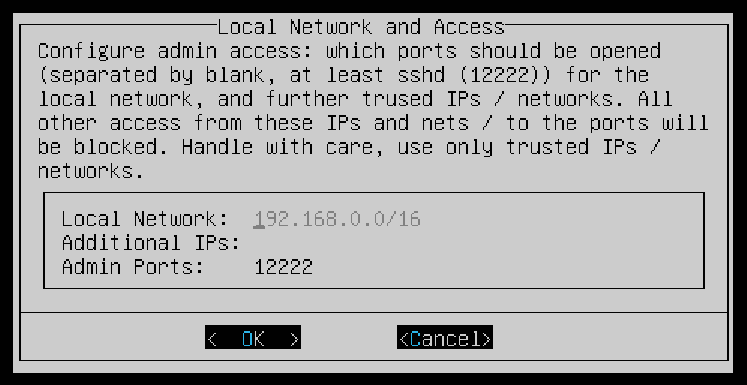
The next step will configure admin access, you can just leave it at default then OK.
Note: Your local network will vary from the screenshot, it may use 10.x.x.x or 192.x.x.x. Verify your network settings before proceeding.
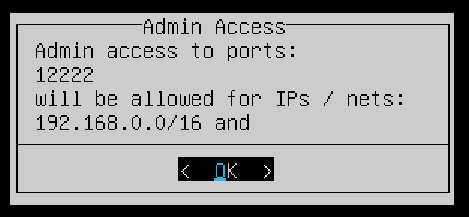
Press Enter to OK.
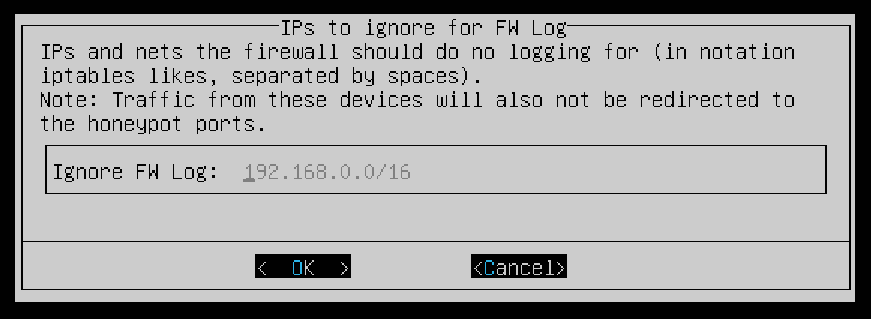
Next you can enter the IP addresses that the firewall will not log and will not redirect to the honeypot ports. Ensure your local network is entered in the field then select OK to proceed to the next step.
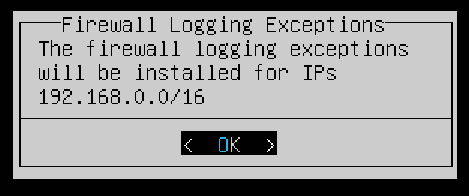
Select OK.
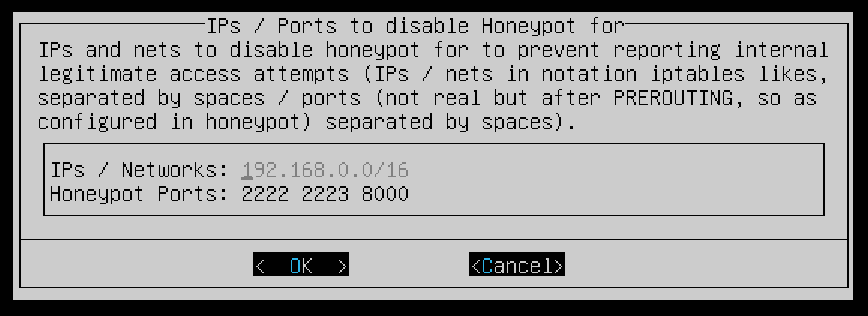
The next screen allows you to enter IPs and Ports to disable the honeypot for to prevent reporting internal access attempts. Again, ensure your local network is entered in the field. You can leave the default options for the Honeypot Ports then OK.
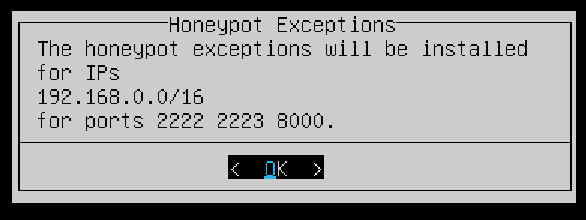
Select OK.
It will perform further configurations.

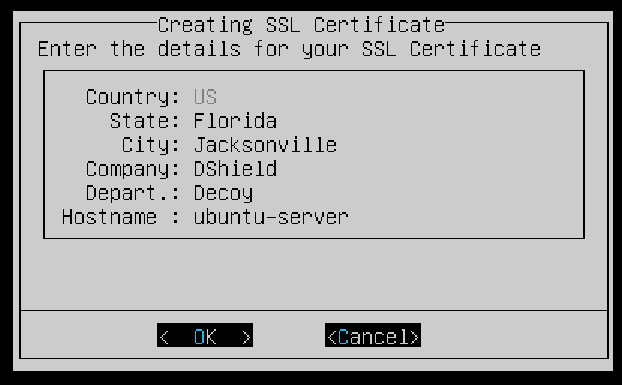
In the following screen you can create an SSL certificate. You can opt to use the default information given or enter your own. Select OK when you’re done.
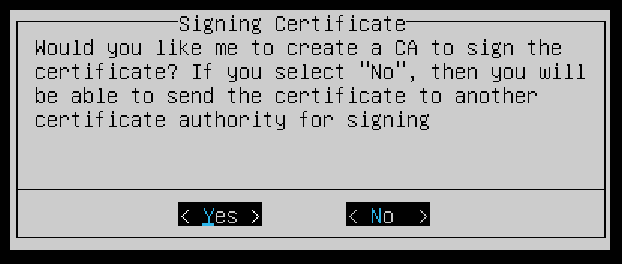
The script can create a Certificate Authority (CA) to sign the certificate, select Yes to proceed.
Now reboot the machine.
learncyber@ubuntu-server:~/install/dshield/bin$ reboot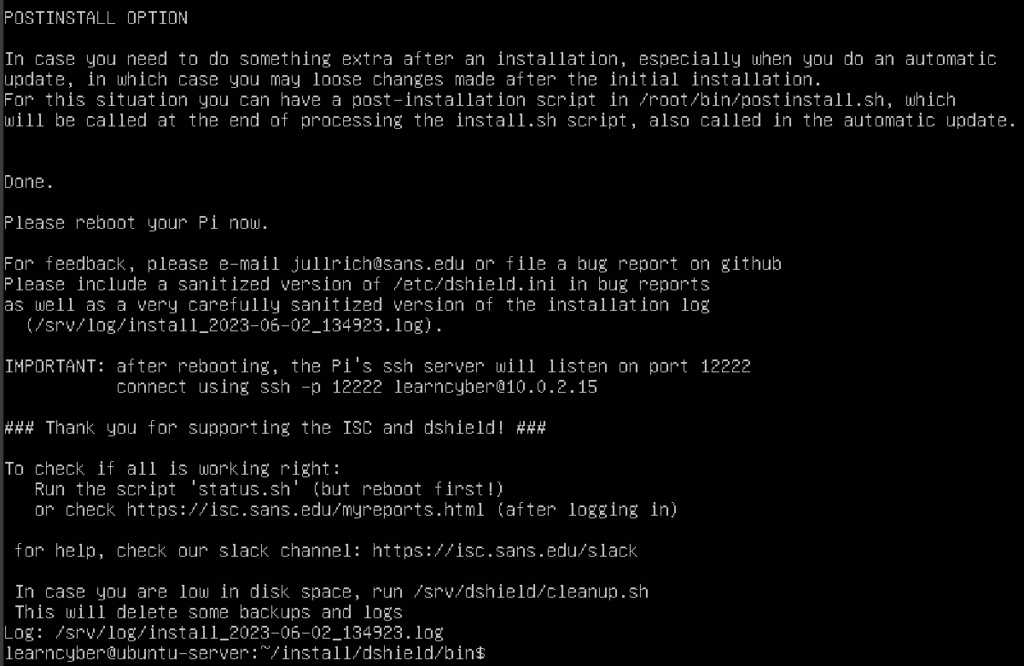
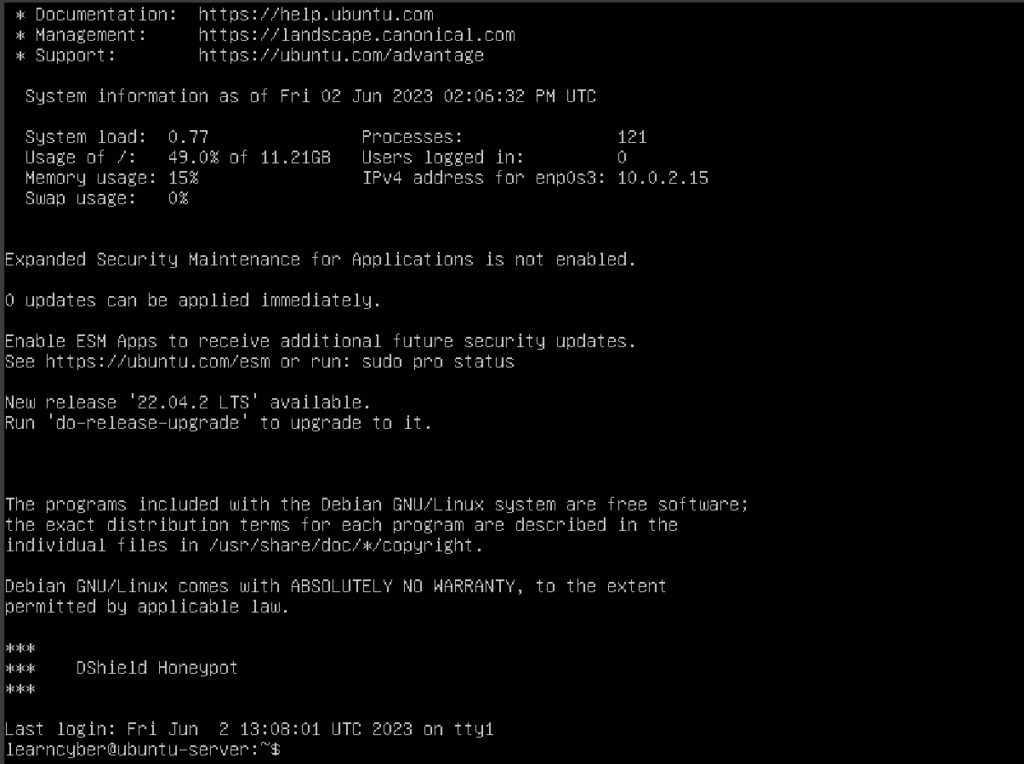
After rebooting, you will notice the line saying “DShield Honeypot“, this indicates that you have successfully turned your Ubuntu Server into a honeypot, however, it’s still not accessible from the public internet. To do so, you need perform a few more configurations.
First you need to find and copy the IP address of your default gateway. To do this, go to your command prompt and enter the following command:
C:\Users\learncyber>ipconfigOpen a web browser and paste the IP address. It will show a warning similar to the one below. Click on Advanced then click Proceed to continue to the next step.

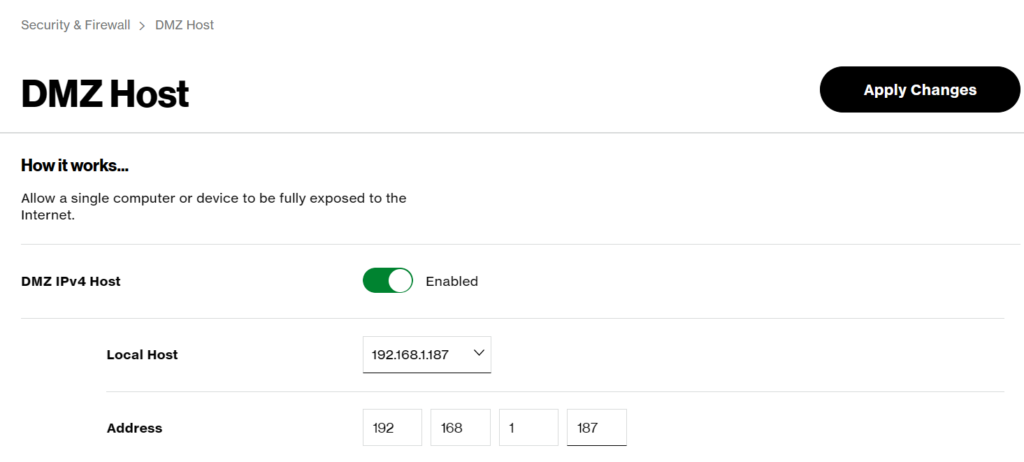
You need to configure your router to use the Ubuntu Server VM as your DMZ host, this process will vary based on your network setup. Make sure you entered the IP address of your VM.
You can find the IP address of your machine by typing:
learncyber@ubuntu-server:~$ hostname -I
After applying the changes, you can test your set up by using a free Online Port Scanner to scan your public IP address (which is then internally forwarded to the Ubuntu VM’s address). Your results should show something similar to the images below.
Note: If you don’t know your router’s public IP address, just type “what’s my ip” on your favorite search engine.
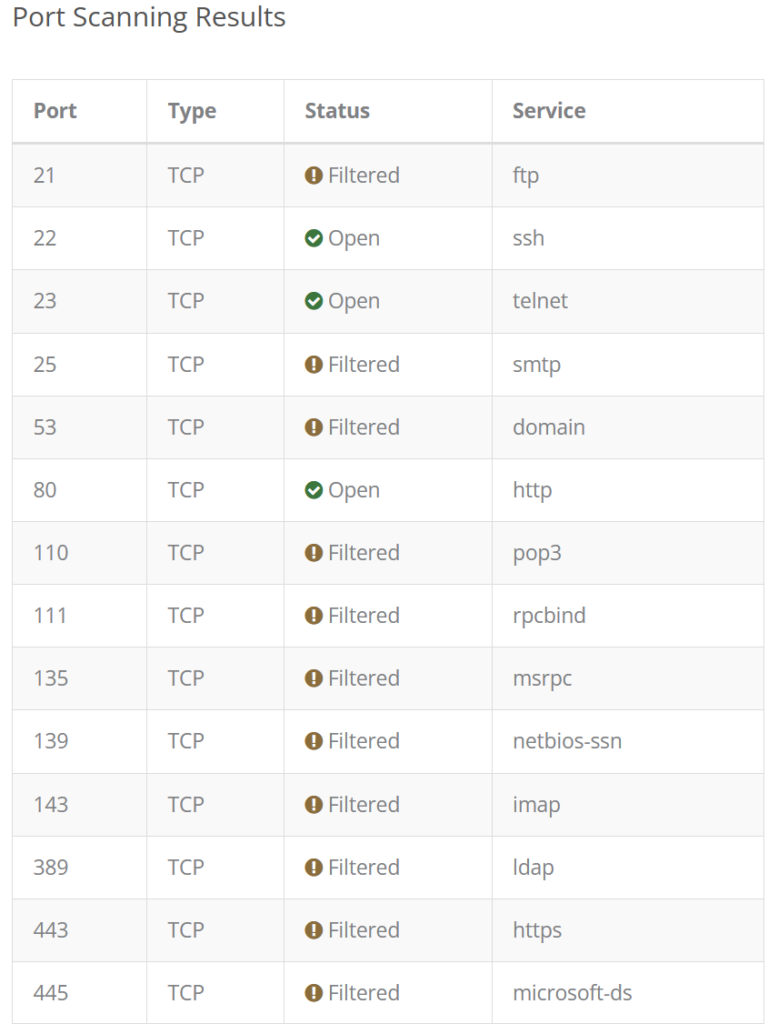
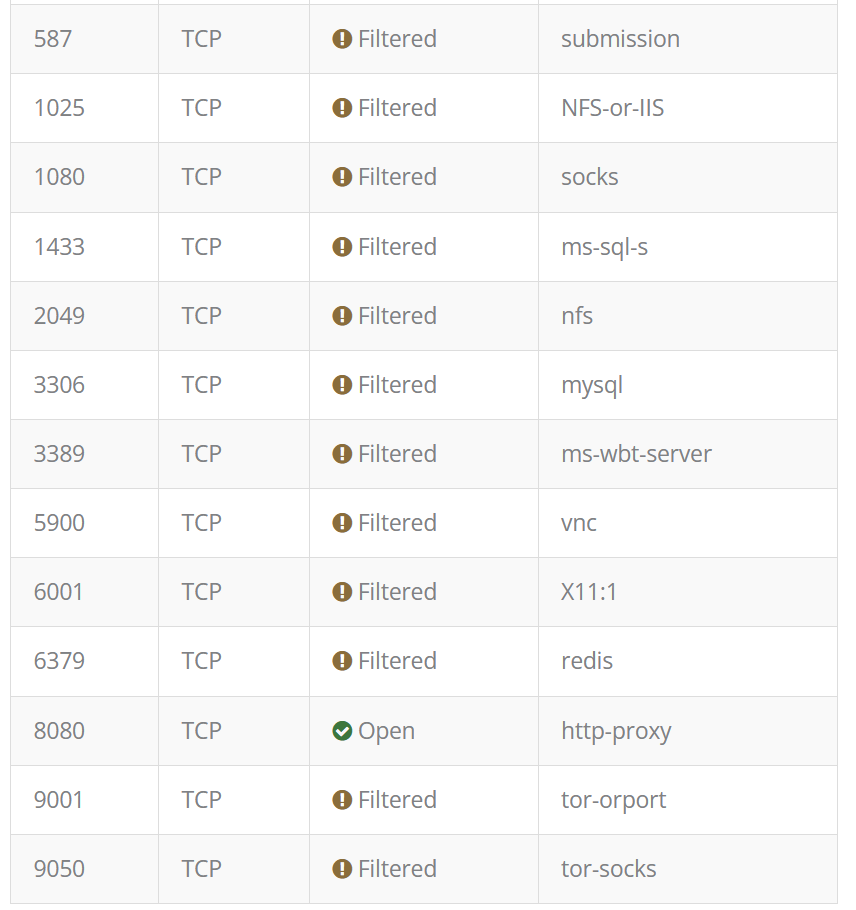
Your honeypot is now exposing these ports to the internet.
Logs will be sent to DShield every 30 minutes. You can check out the logs by logging in to your DShield account and going to your dashboard. These are the logs after a few hours of running the honeypot:
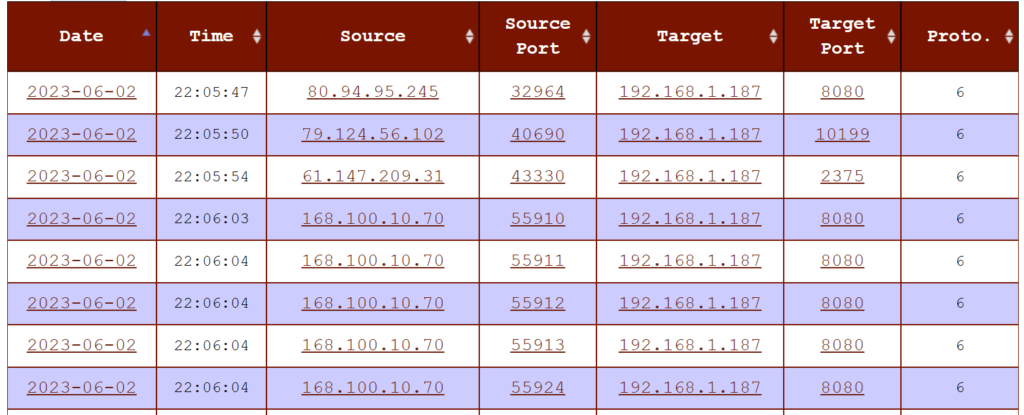
Firewall Logs
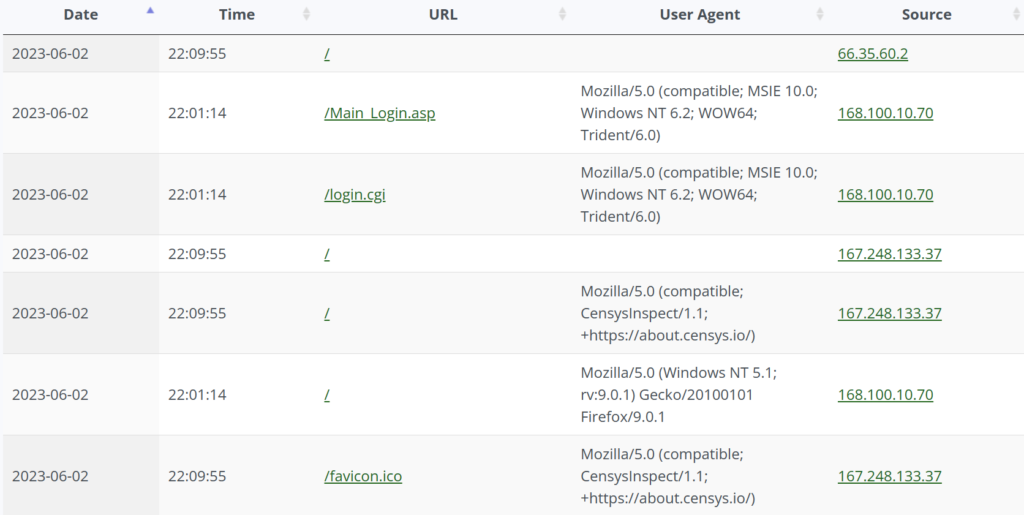
Web Honeypot Logs
All of these data are collected by the Internet Storm Center and are aggregated with data from other honeypots giving them a global view and understanding of the emerging threat landscape.
Congratulations! You now have successfully installed and ran DShield Honeypot on your Ubuntu Server.