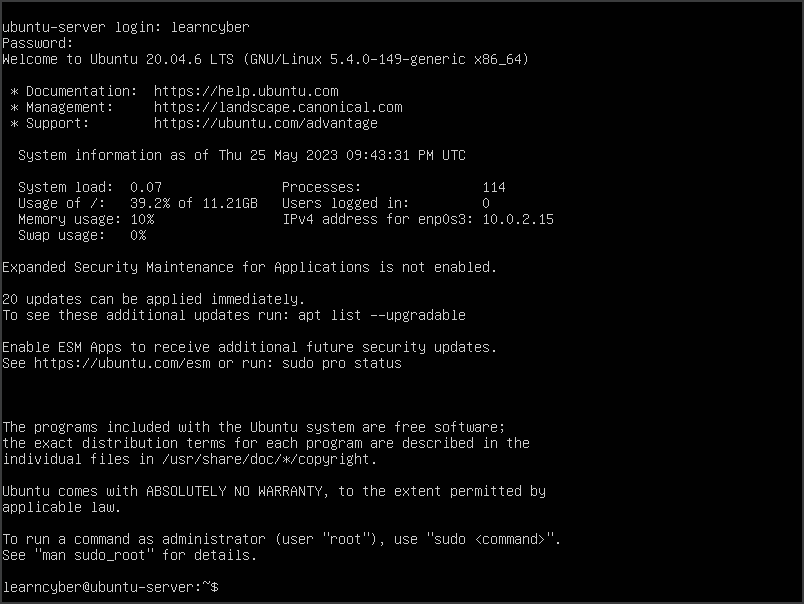
In this article, I will guide you on how to install Ubuntu Server 20.04 LTS on VirtualBox.
Note: If you don’t have VirtualBox installed on your computer, you can refer to our article on How to Install VirtualBox.
What is Ubuntu?
Ubuntu is a popular Debian-based Linux distribution published by Canonical. Ubuntu is an ancient African word meaning ‘humanity to others’.
Installing Ubuntu
We will be installing Ubuntu Server 20.04 LTS version. LTS is an acronym for long-term support.
Unlike the installation of Ubuntu Desktop, Ubuntu Server does not include a graphical installation program. Instead, it uses a text menu-based process.
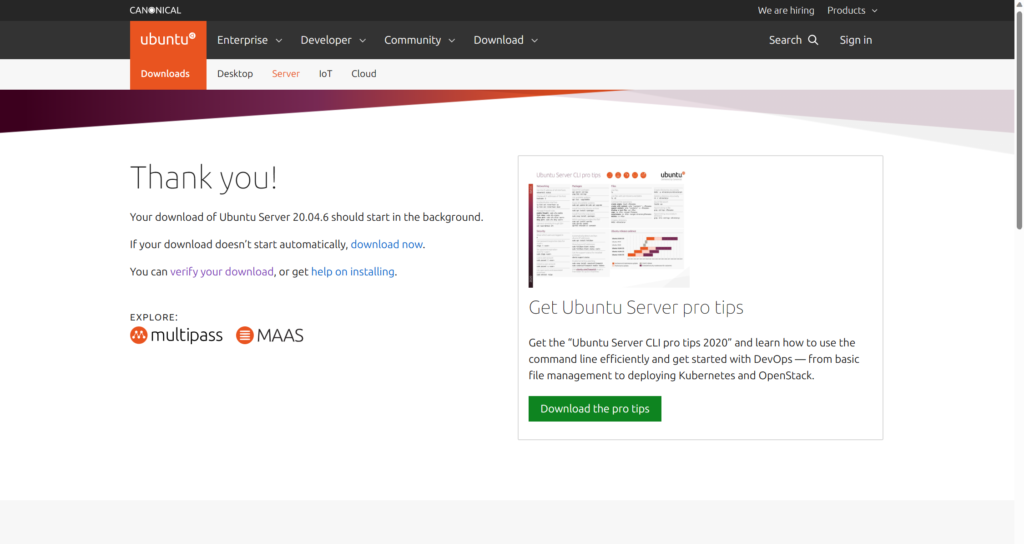
Before we start installing, we first need to download the ISO file from the Ubuntu website: Get Ubuntu Server | Download | Ubuntu. When you go the website, scroll down until you see the Alternative downloads section. Click on Get Ubuntu Server 20.04.06 LTS.
Note: During the time that the article is being written, a new long-term support (LTS) version of Ubuntu Server has been released which is version 22.04.2. The process of installing the new version will more or less be similar to the one presented in this article.

After you click the button, the download will automatically start.
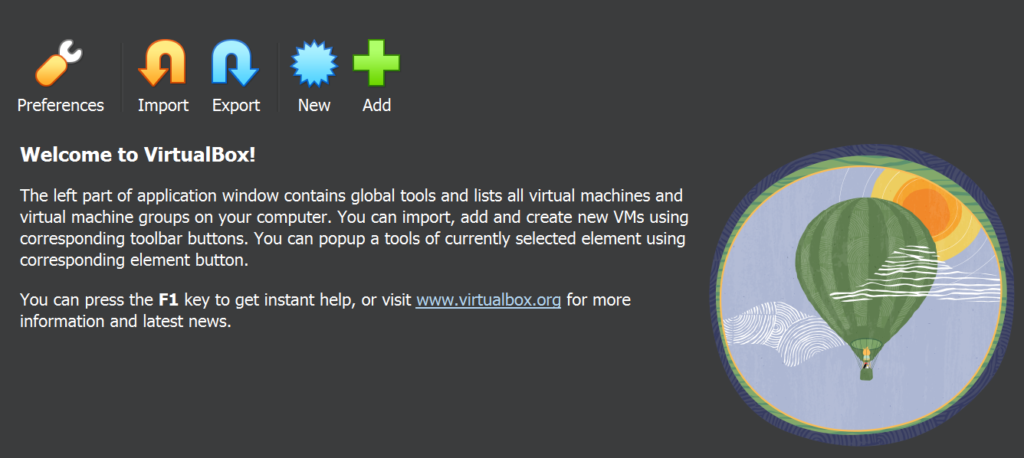
Go to your VirtualBox and click on New to create a new virtual machine.
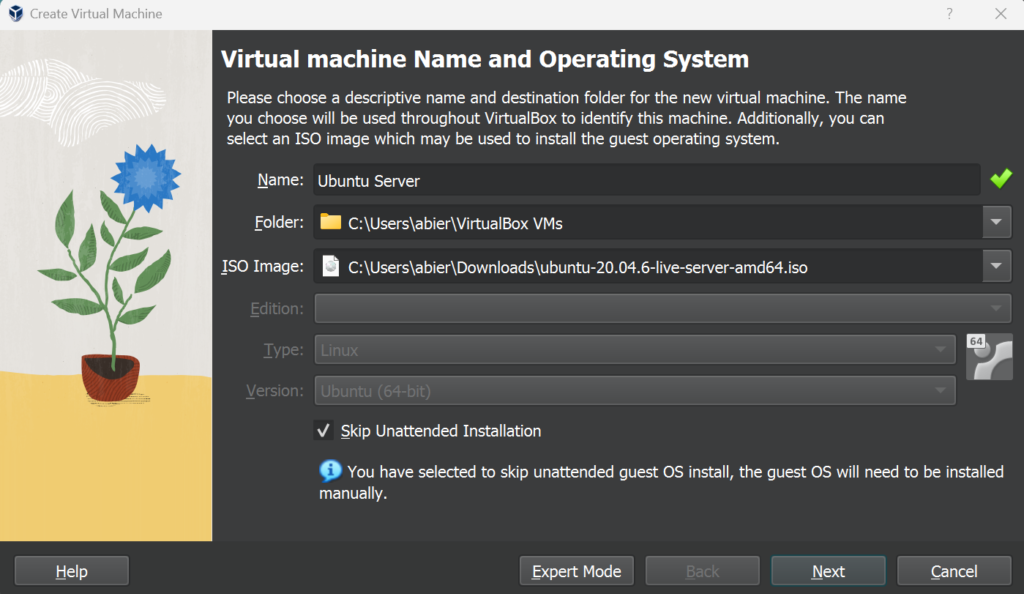
In the dialog box:
- Create a Name for the new VM.
- Choose a folder where your VM will be located, you can also leave it as default.
- Look for the ISO file that you just downloaded.
- Make sure you Check the box next to Skip Unattended Installation.
- Click Next.
Create a Virtual Hard Disk and click Next.

You can modify the hardware configuration based on your specific needs. 2 GB of RAM and 2 CPUs will work fine in this case. Click Next.

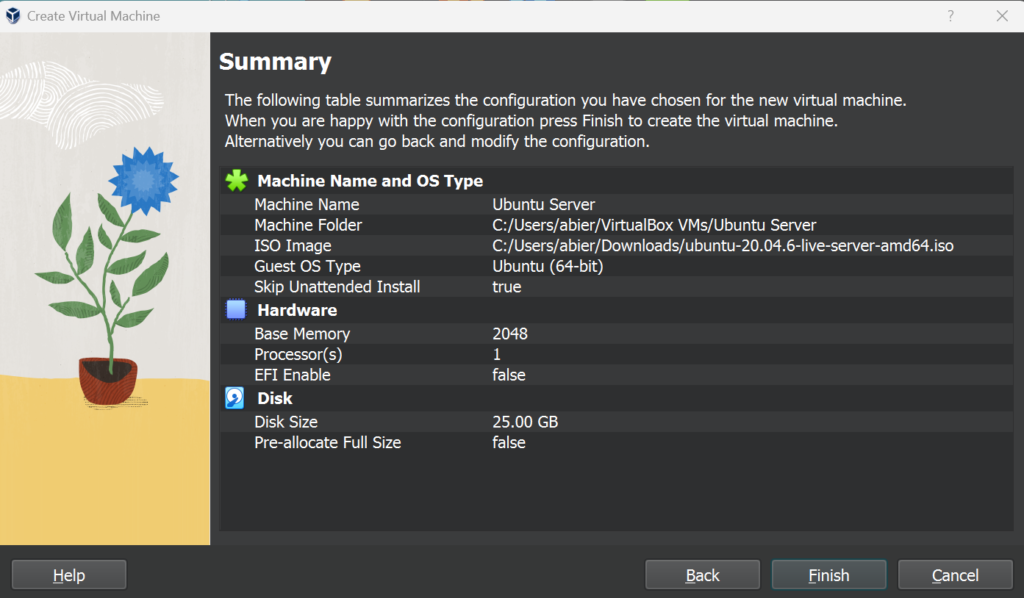
Now you will see the summary of your configurations. If everything looks good, click on Finish.
Start your new virtual machine.

Select your language by using the Up/Down arrow keys and press Enter.

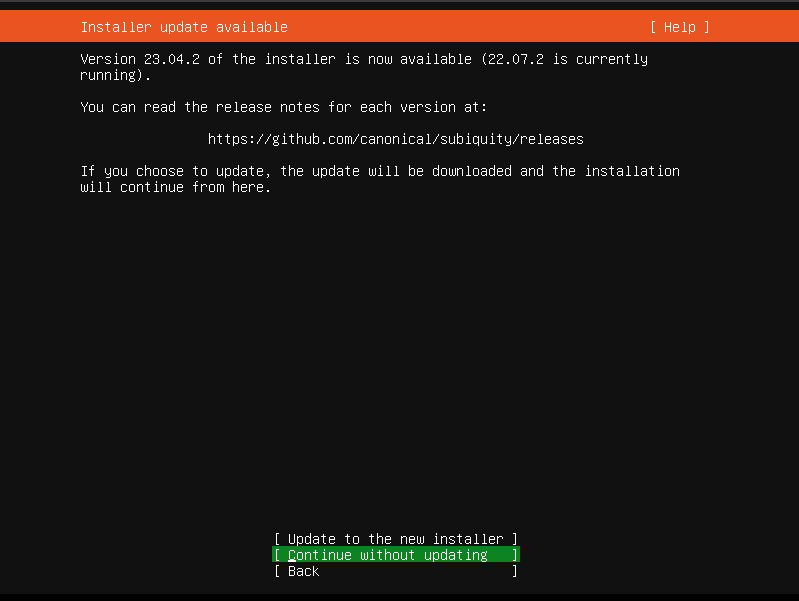
This screen is shown if there is an update for the installer available. This allows you to get any improvements and bug fixes made since release. You can press Enter.
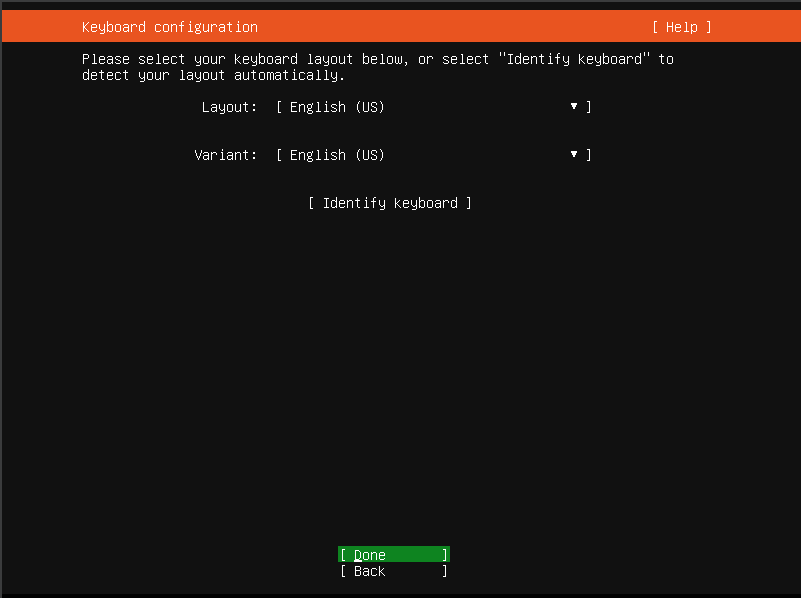
Select Keyboard Layout and press Enter.
The installer will automatically detect and try to configure any network connections via DHCP, you will not have to enter anything on this screen. Press Enter.

Press Enter.

Press Enter.
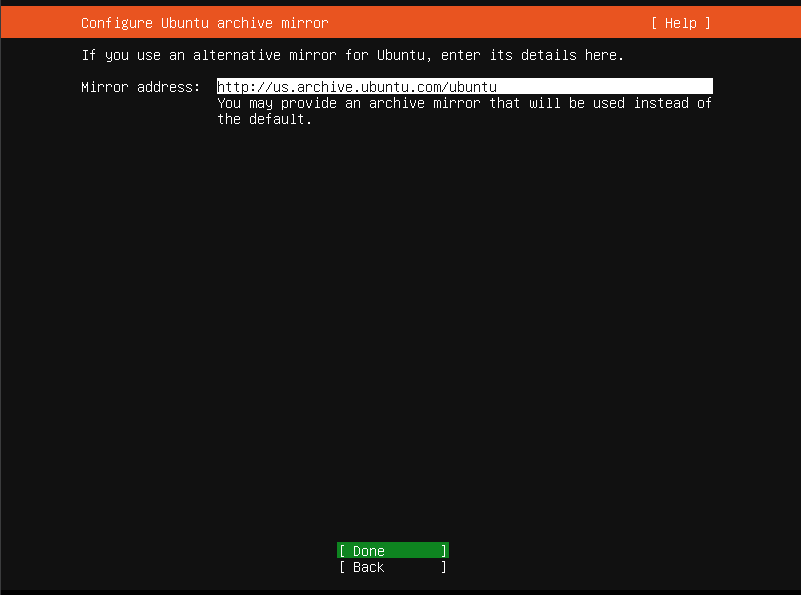
We can leave the storage configuration at default. Press the Down-arrow key until you reach Done then press Enter.
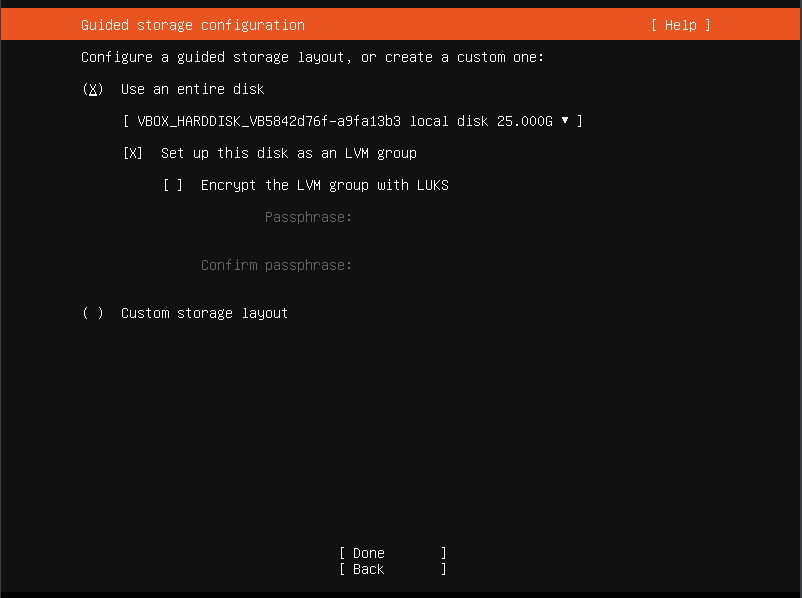
Press Enter.

It will ask you to confirm the action, choose Continue.

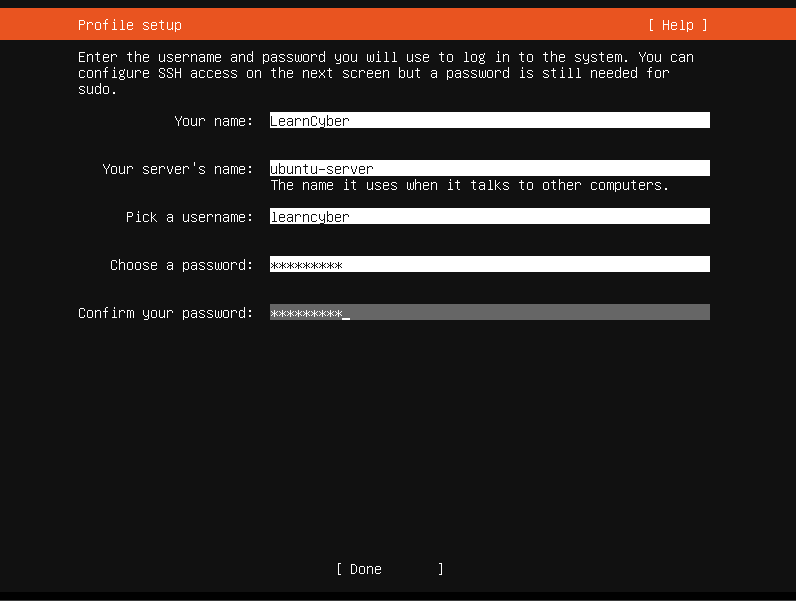
Now you will be setting up a profile. The default user will be an administrator. You can either use the Tab or Down-arrow key to go to the next line. Press Enter when you’re done.
It is very common to administer servers via SSH, you can opt to install OpenSSH by pressing the spacebar key. You can also go with the default option and not install it. Press Enter.

Server Snaps are additional software you can add to your server environment. Press Enter when you’re done.

The final screen of the installer shows the progress of the installer.
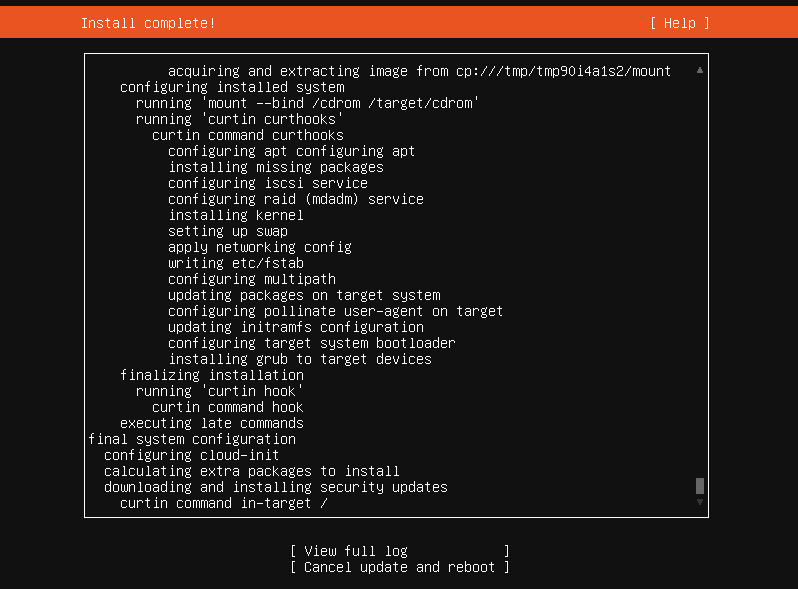
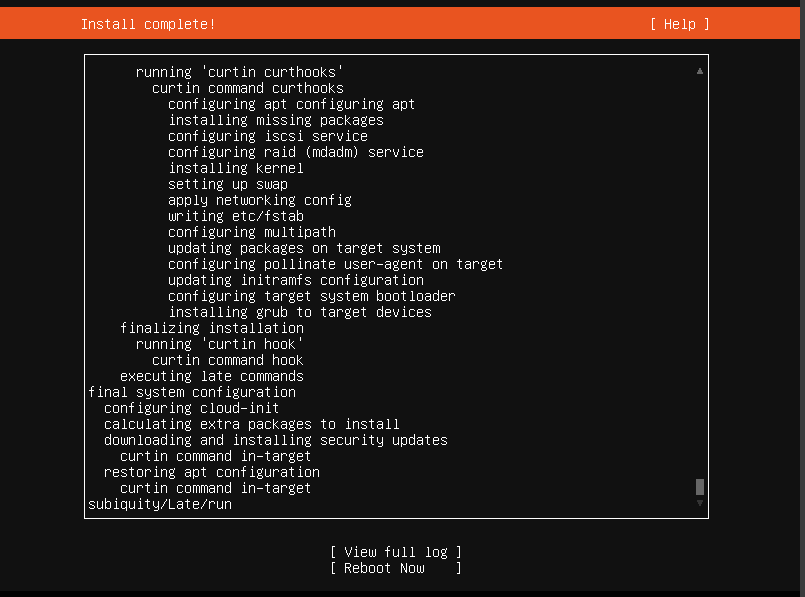
Once the installation has completed, the installer waits for confirmation before restarting. Select Reboot Now and press Enter.
VirtualBox automatically disconnects the ISO file so when you see this message on your screen, just press Enter.
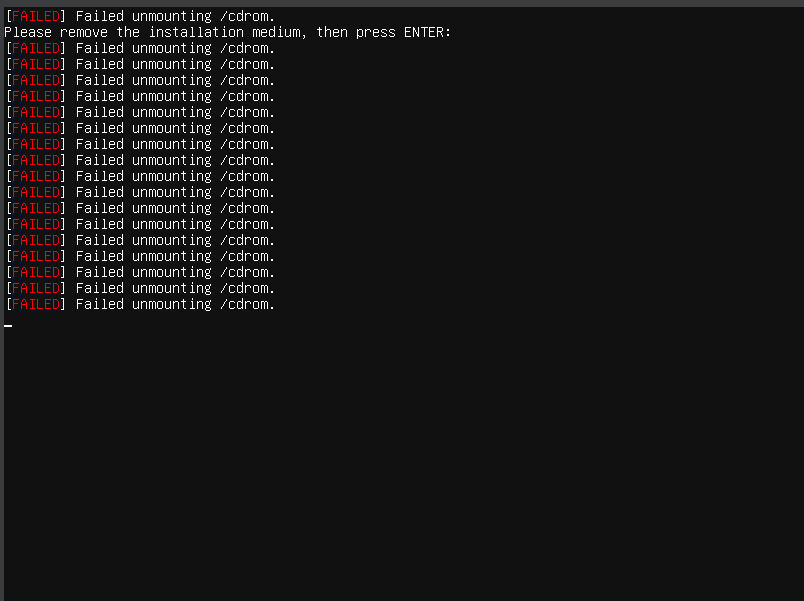
Press Enter for the login prompt to appear. Type the credentials for the account that you created.
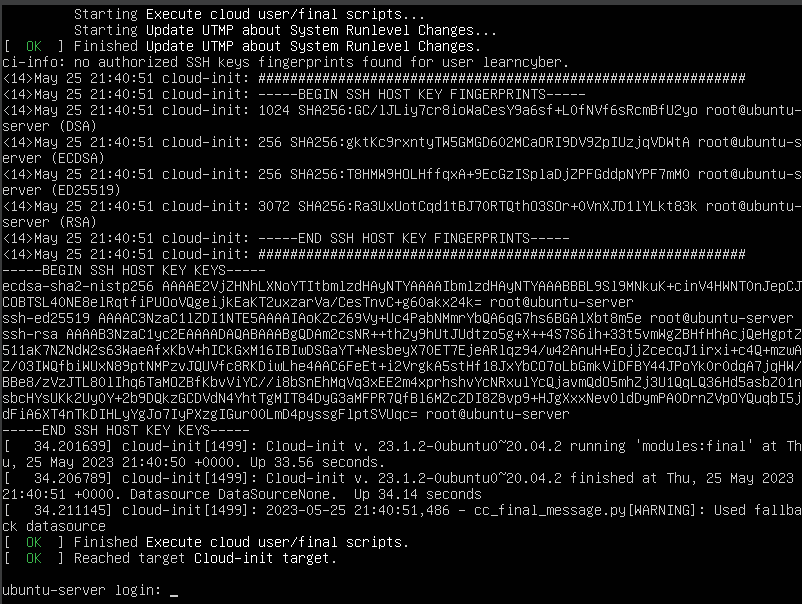
Congratulations! You have successfully installed an Ubuntu Server.
